Another coronavirus lockdown freebie for those of you who missed it at Christmas.
STAY HOME.
PLAY VECTREX.
SAVE LIVES.
Take care people. See you on the other side.
Chris
Another coronavirus lockdown freebie for those of you who missed it at Christmas.
STAY HOME.
PLAY VECTREX.
SAVE LIVES.
Take care people. See you on the other side.
Chris
Something that might come in useful (especially to those of you using Laurence Bennion’s excellent new UV overlay) is adding a USB port to your Vectrex to provide power to a UV LED strip such as this one : https://www.ebay.co.uk/itm/USB-5V-REAL-UV-Ultraviolet-LED-Strip-Light-Tape-Lights-SMD-5050-LEDs-Blacklight/323538253248

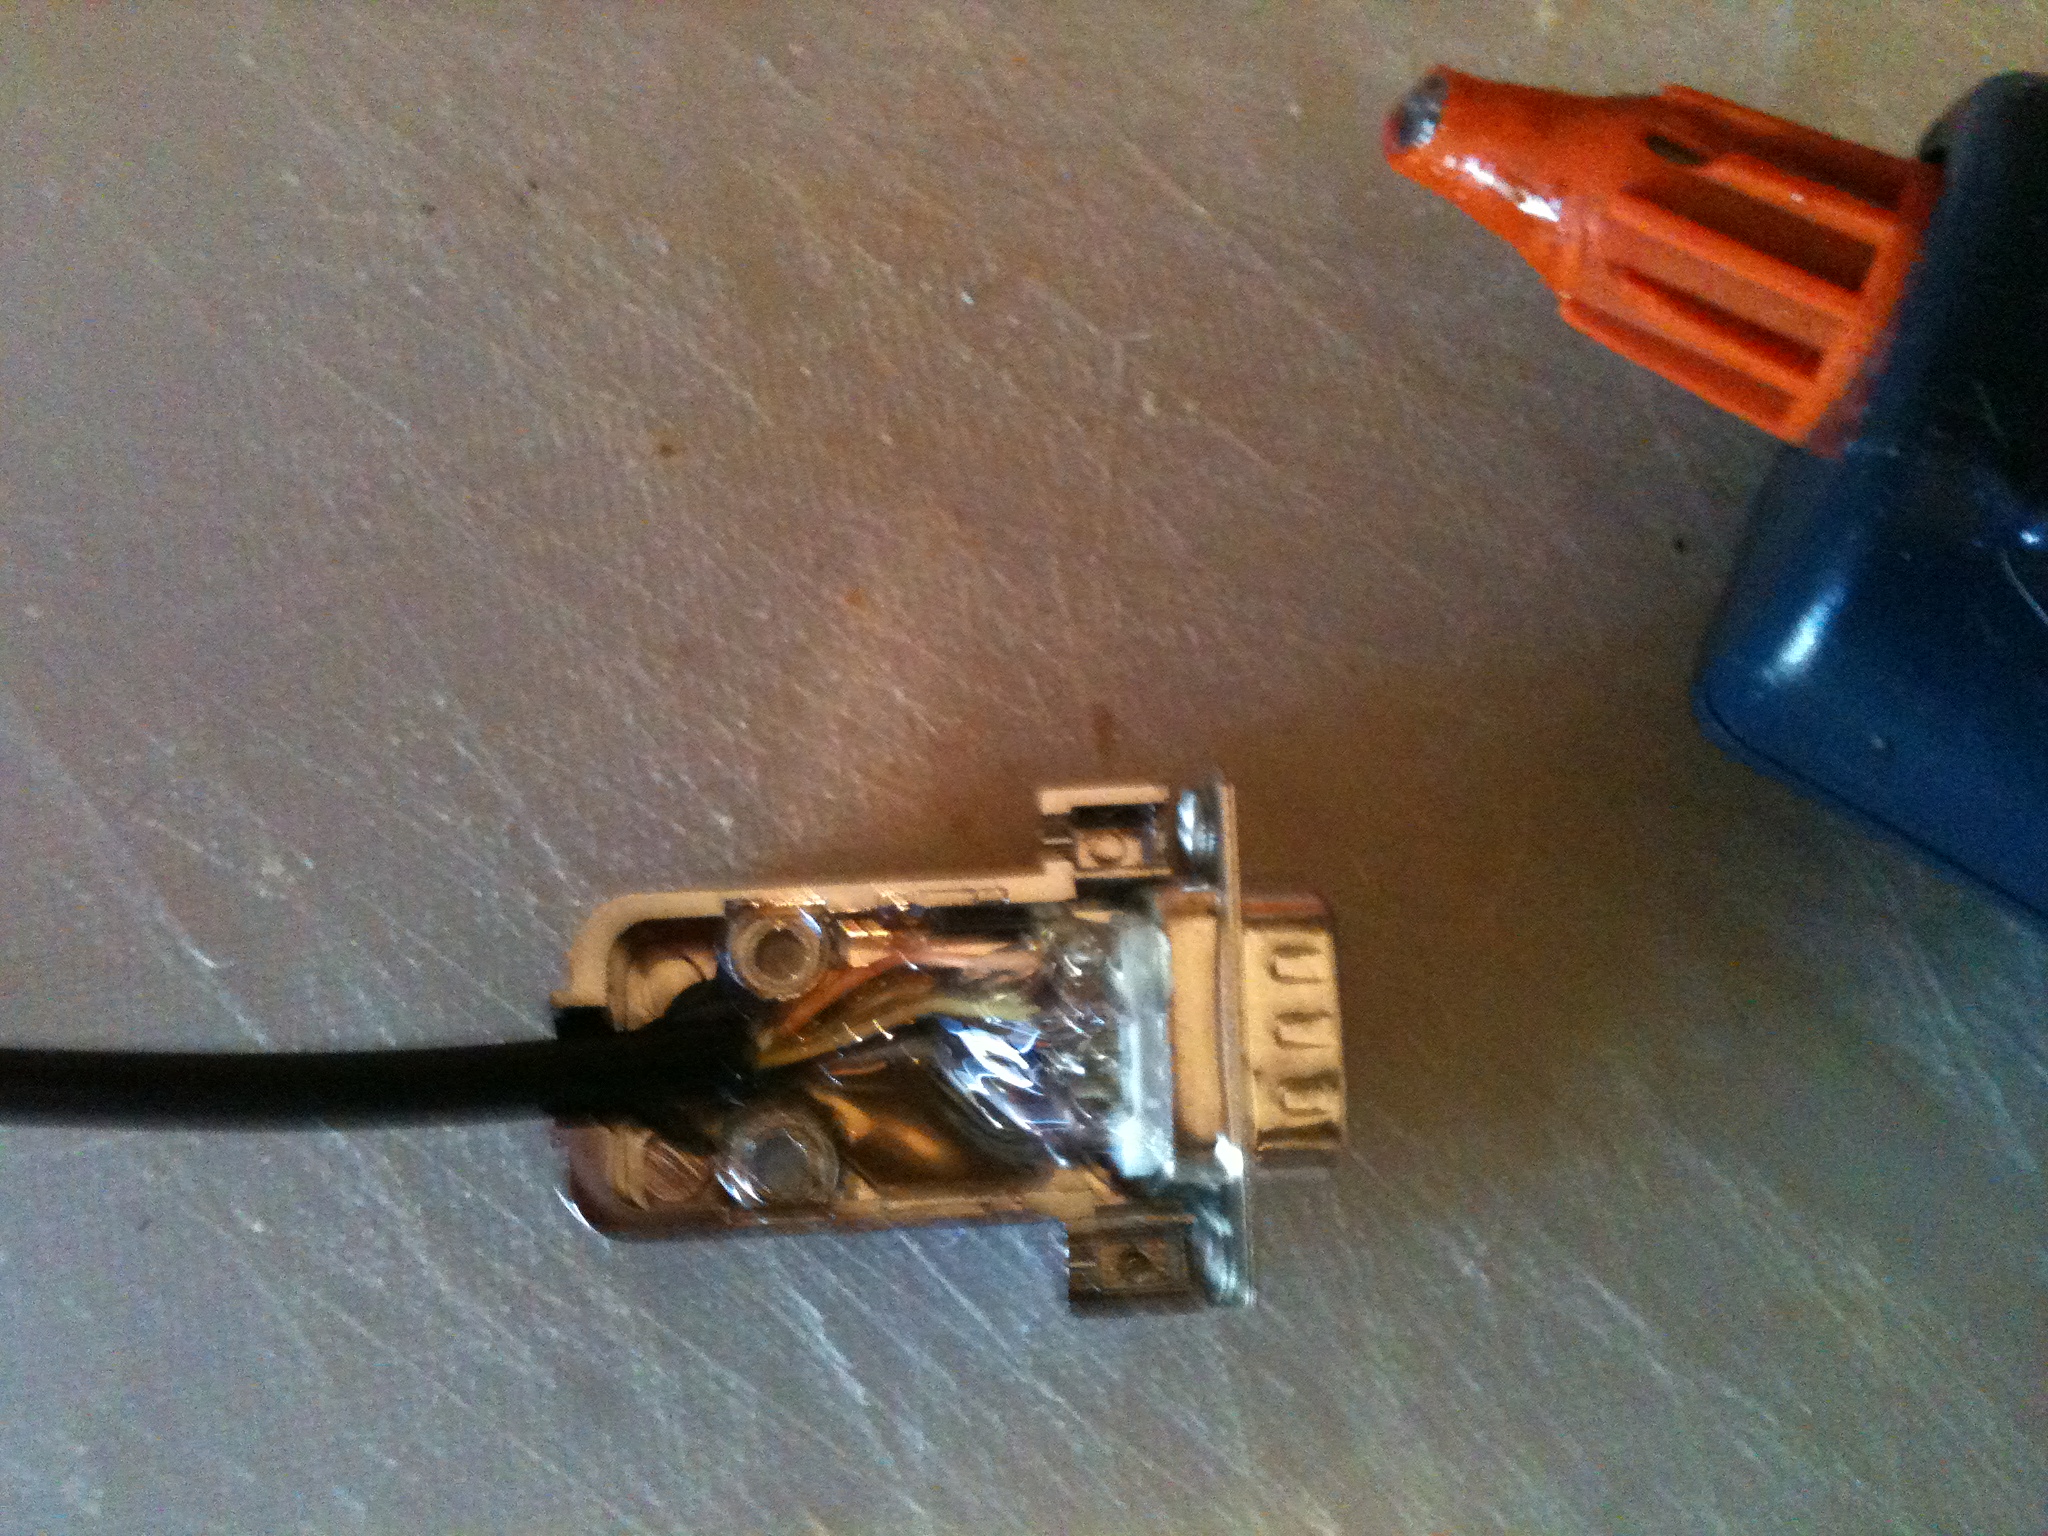
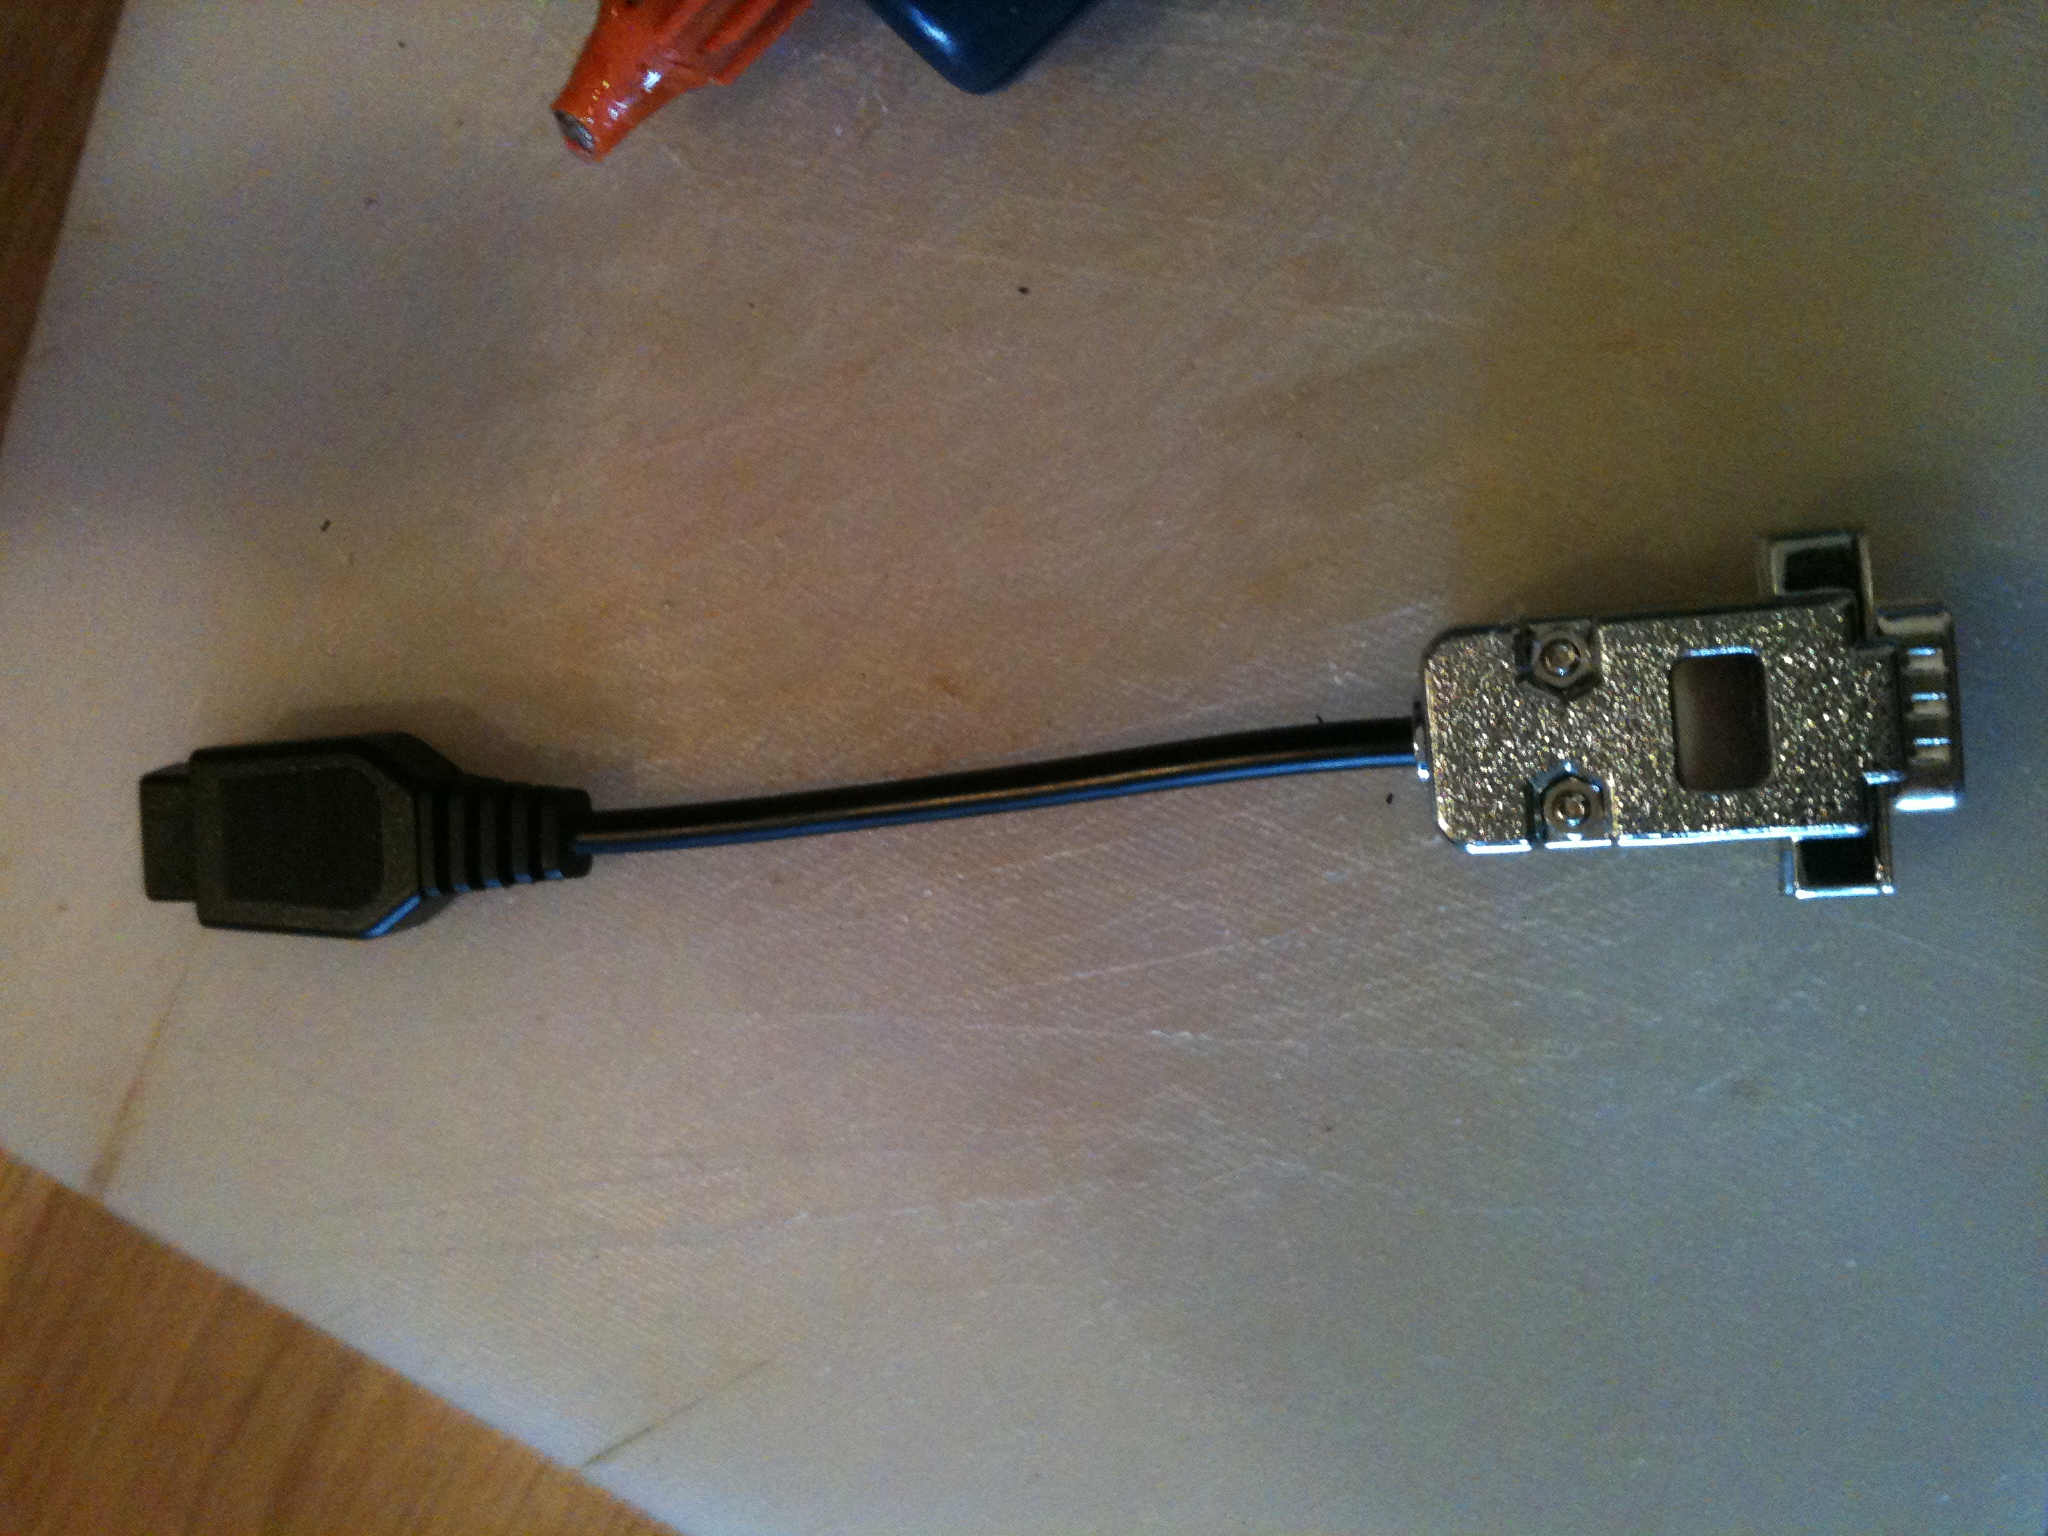
I made a simple USB power box using a spare USB extension cable, a Sega Genesis/Megadrive joystick extension cable (DB9 plug end) and a plastic box which a Raspberry Pi came in years ago 😉
To make you own, all you need to do is use a USB socket (or cut one from a USB extension cable as I did), and connect the two outer VCC and GND pins on the socket to pins 7 (+5V) and 8 (GND) on the DB9 joystick extension cable. Add shrink tubing to the DB9 plug cable and solder the wires to the relevant pins on the USB socket.
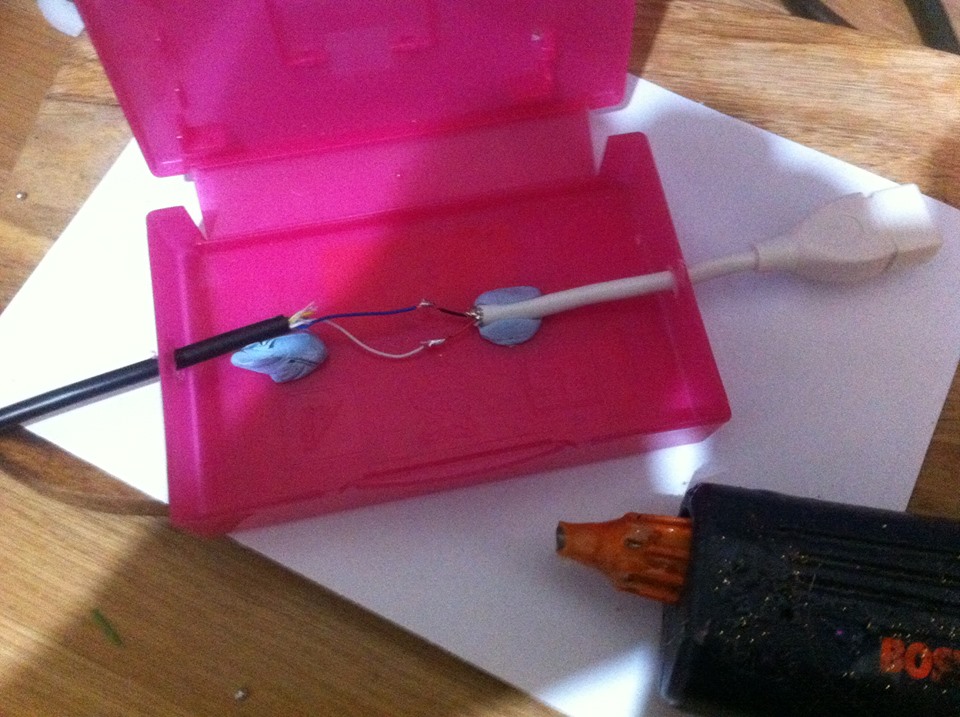
Once you are happy with the soldered connections, shrink the shrink tubing to protect (or do as I did, cover in hot glue and hide your sins in a box 😉 )

Now, you must shave the end of the plastic plug to fit the Vectrex port and you are good to go!
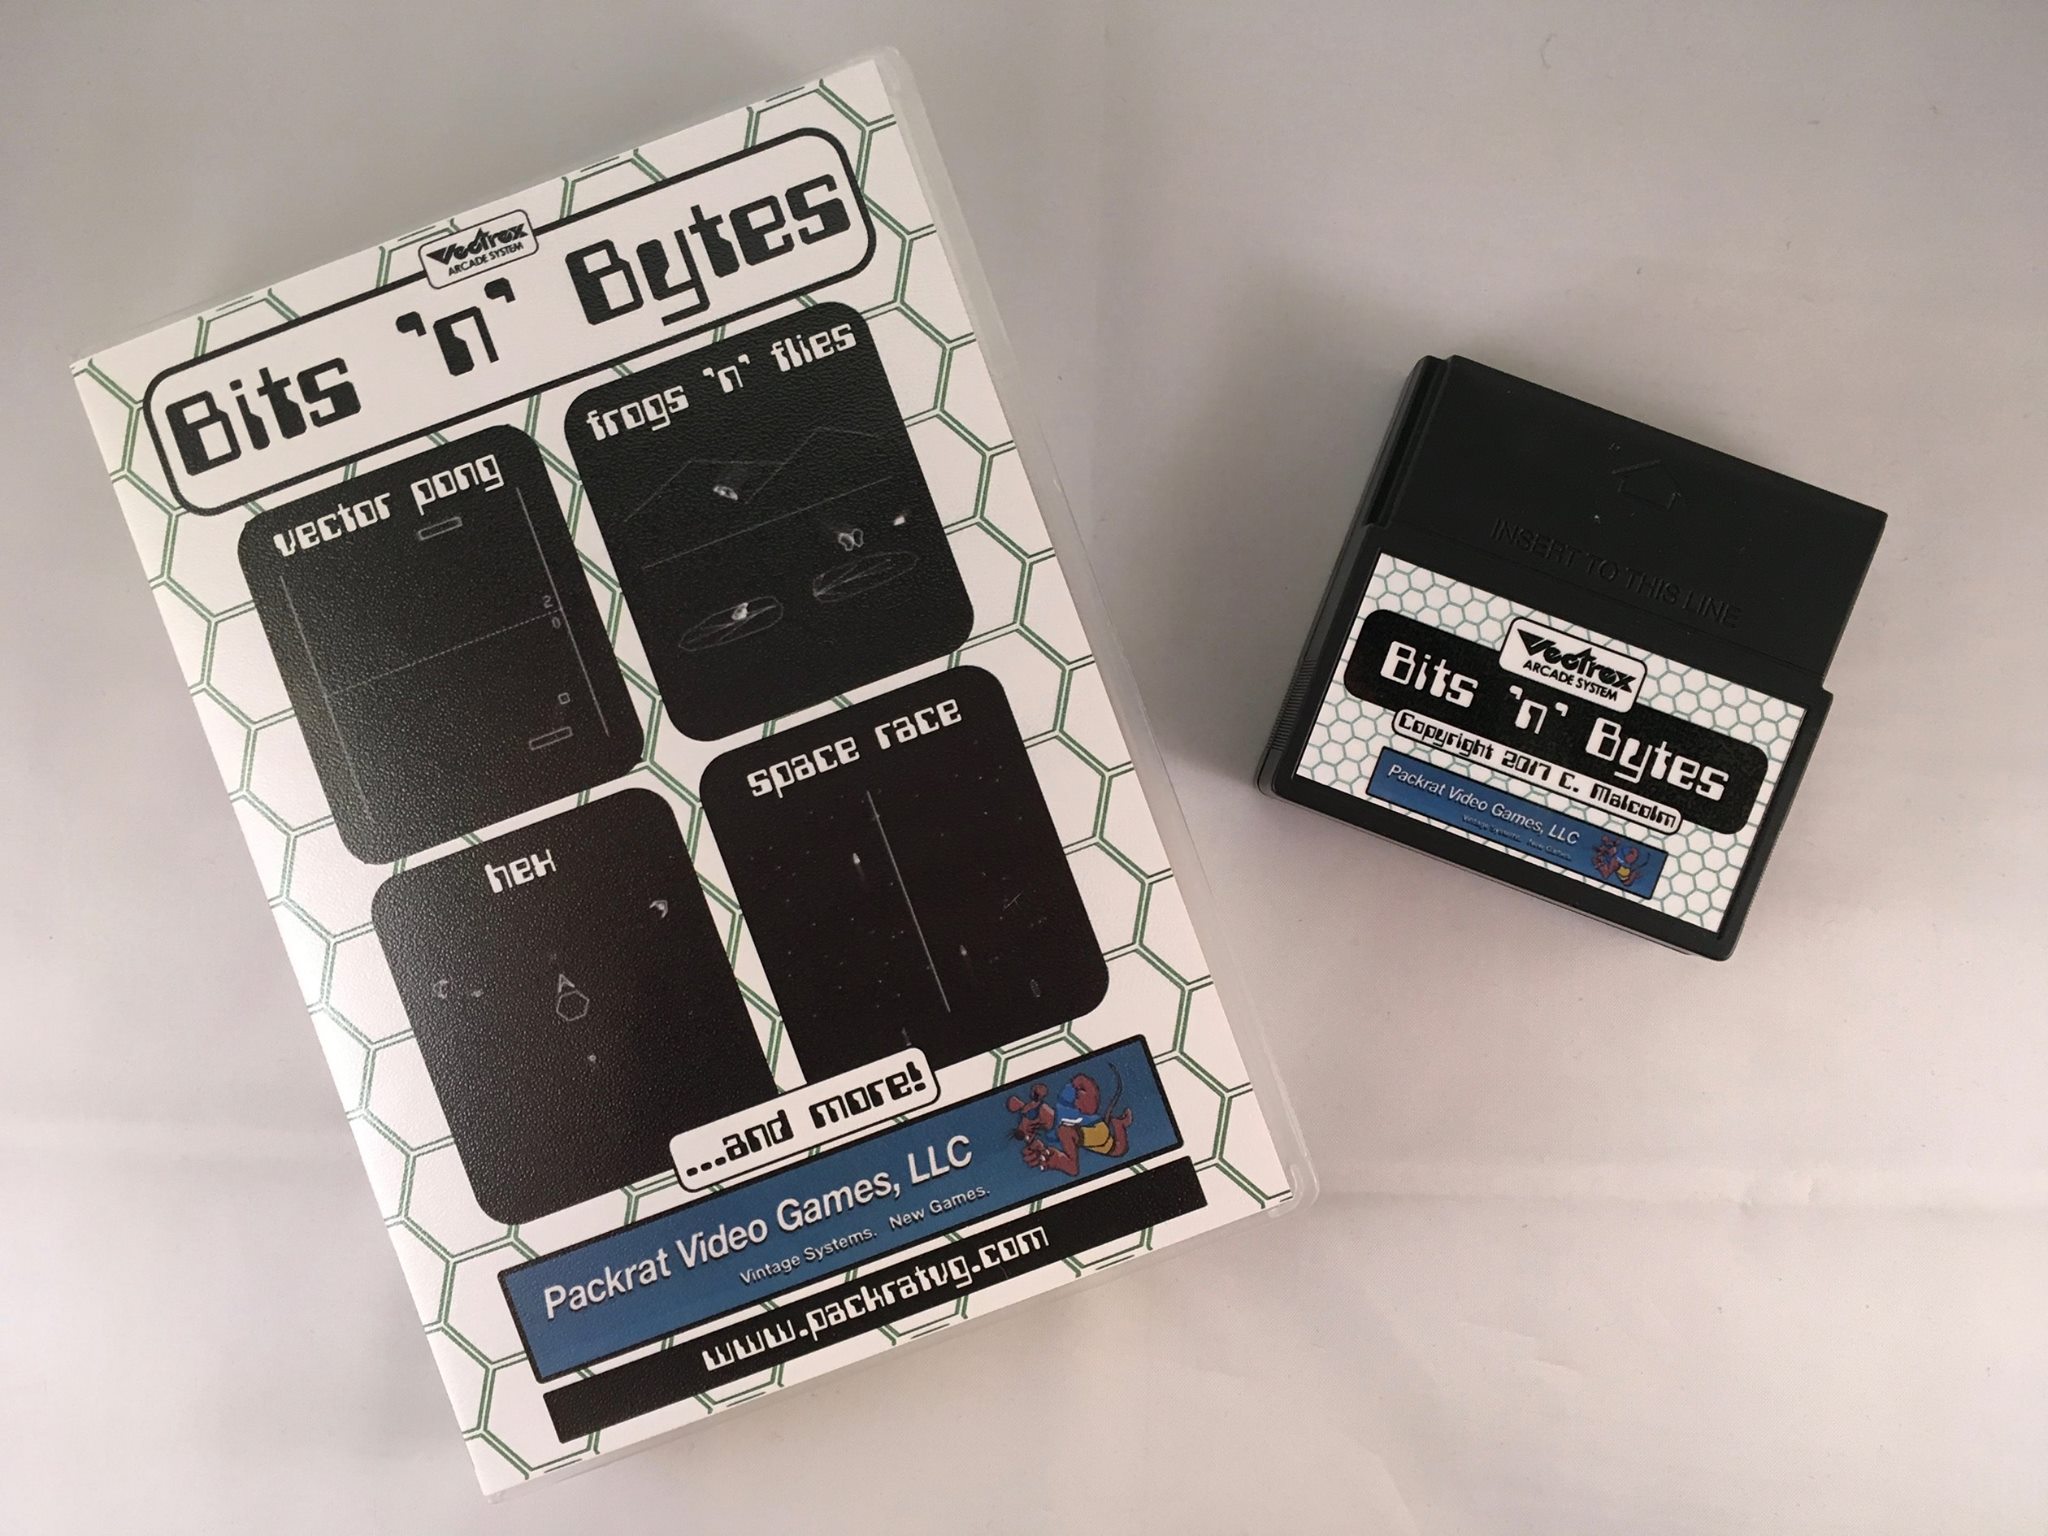
My latest cartridge release, a compilation of 7 games and applications is now available for purchase from Packrat Video Games.
Visit http://www.packratvg.com/vbits.html to place your order.
A simple screensaver type application for your Vectrex. Draws patterns on the screen, to the sound of sci-fi bleeps and bloops.
Download : http://binarystarsoftware.com/bin/Dots_v100.BIN
Have fun!
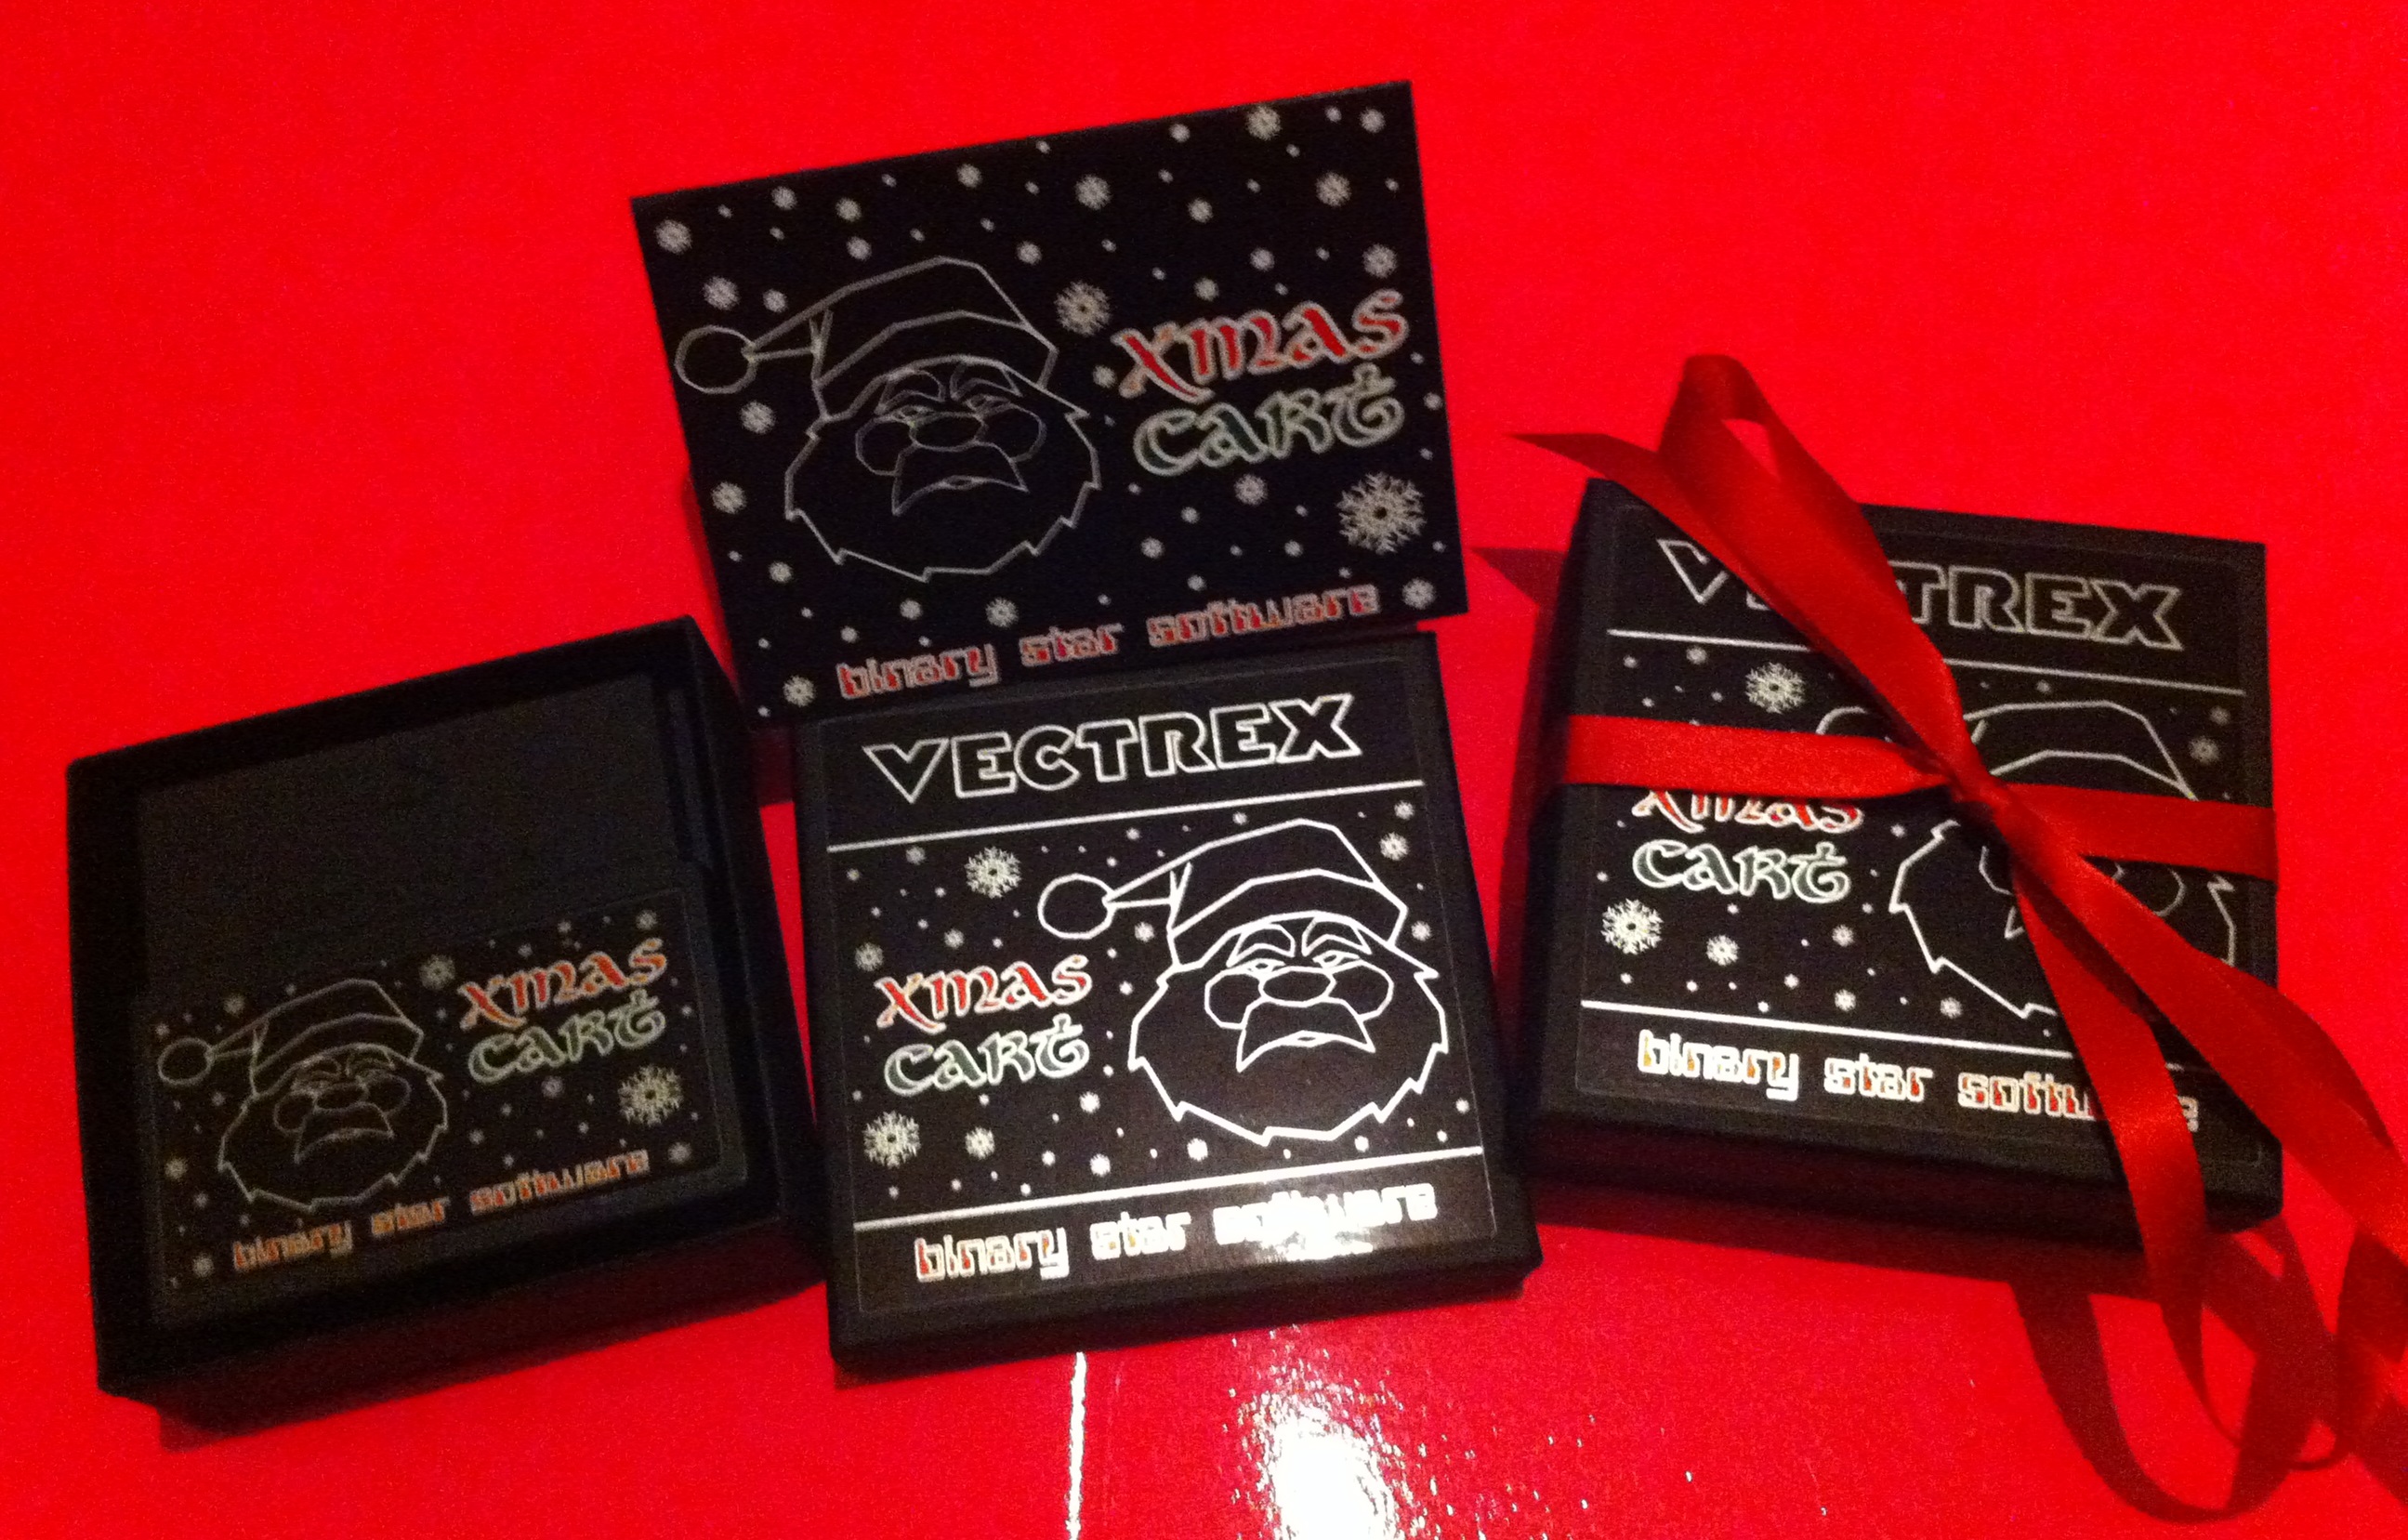
As I didn’t have time to write any new Xmas themed games for 2016, I thought I’d make a little festive mod to one of my existing ones.
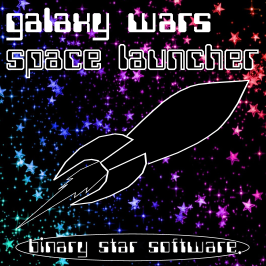
“Xmas Space Race” plays the same as the hidden 2 player game “Space Race“, found on my “Galaxy Wars : Space Launcher” cartridge. This version adds Christmas trees and a single player mode where you race against the Vectrex!
Happy holidays folks!
Chris
The new Xmas Cart featuring 4 festive themed games can now be ordered on the “Ordering Information” page.
*Update*
Xmas Cart is now sold out.
Thanks and a merry Christmas to you all!
‘Quick Shot’ is a simple skill test application. Press a button as many times as you can within 10 seconds. Test your skill and compare times with your friends. No cheating 😉
Download
Myself and Jim Watt (Author of NOX) will be appearing at Revival Summer Solstice 2016 demonstrating Death Chase / Nox, Galaxy Wars / Space Launcher and previewing my upcoming lightgun games.
The day-ticket giveaway competition is now closed.
Congratulations to the winner, David Dewson.
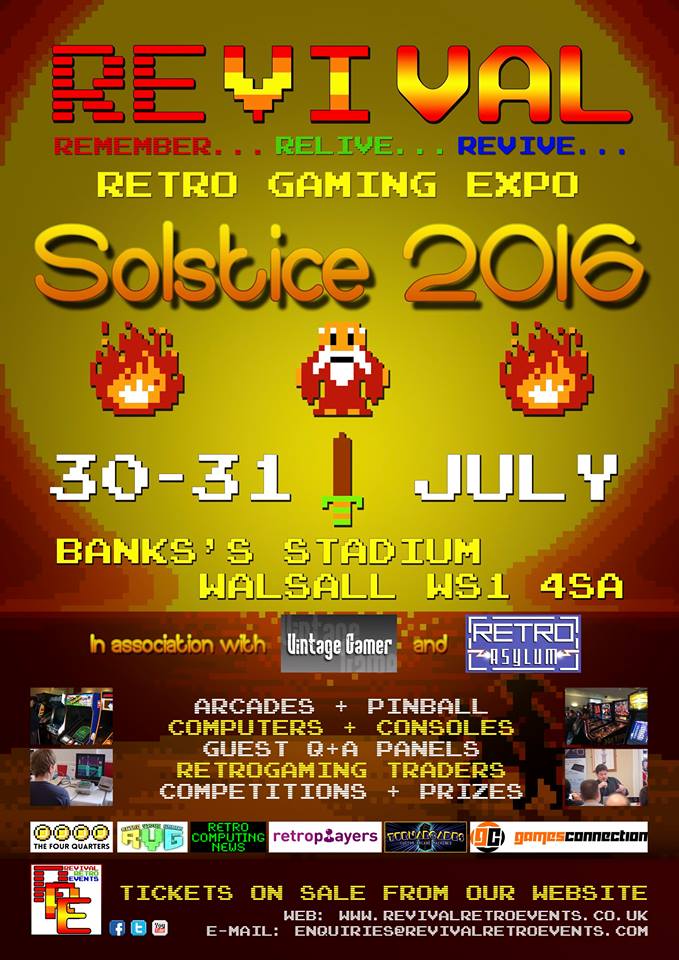
More Info at : http://www.revivalretroevents.co.uk/
Hopefully see some of you at the show!
Just for fun, I made a simple vector clock for Vectrex. Dont expect the timing to be super accurate but it does stay in sync for quite some time 😉
You can adjust the hour by pressing and holding button1 and holding the joystick in the left or right direction to adjust. Minutes are adjusted in the same way with button 2. Button 3 resets the second hand and button 4 toggles minute/second dots on/off. The clock plays one of 13 different pieces of music every hour.
Free ROM Download :
http://binarystarsoftware.com/bin/VectorClockv102.BIN
Change Log:
v1.02
v1.01
v1.00
Instructions for making your own Sega Light Phaser to Vectrex Lightgun adapter. I’ll be making some of these available with the first lightgun compatible cartridge I produce. Stay tuned for more info 😉
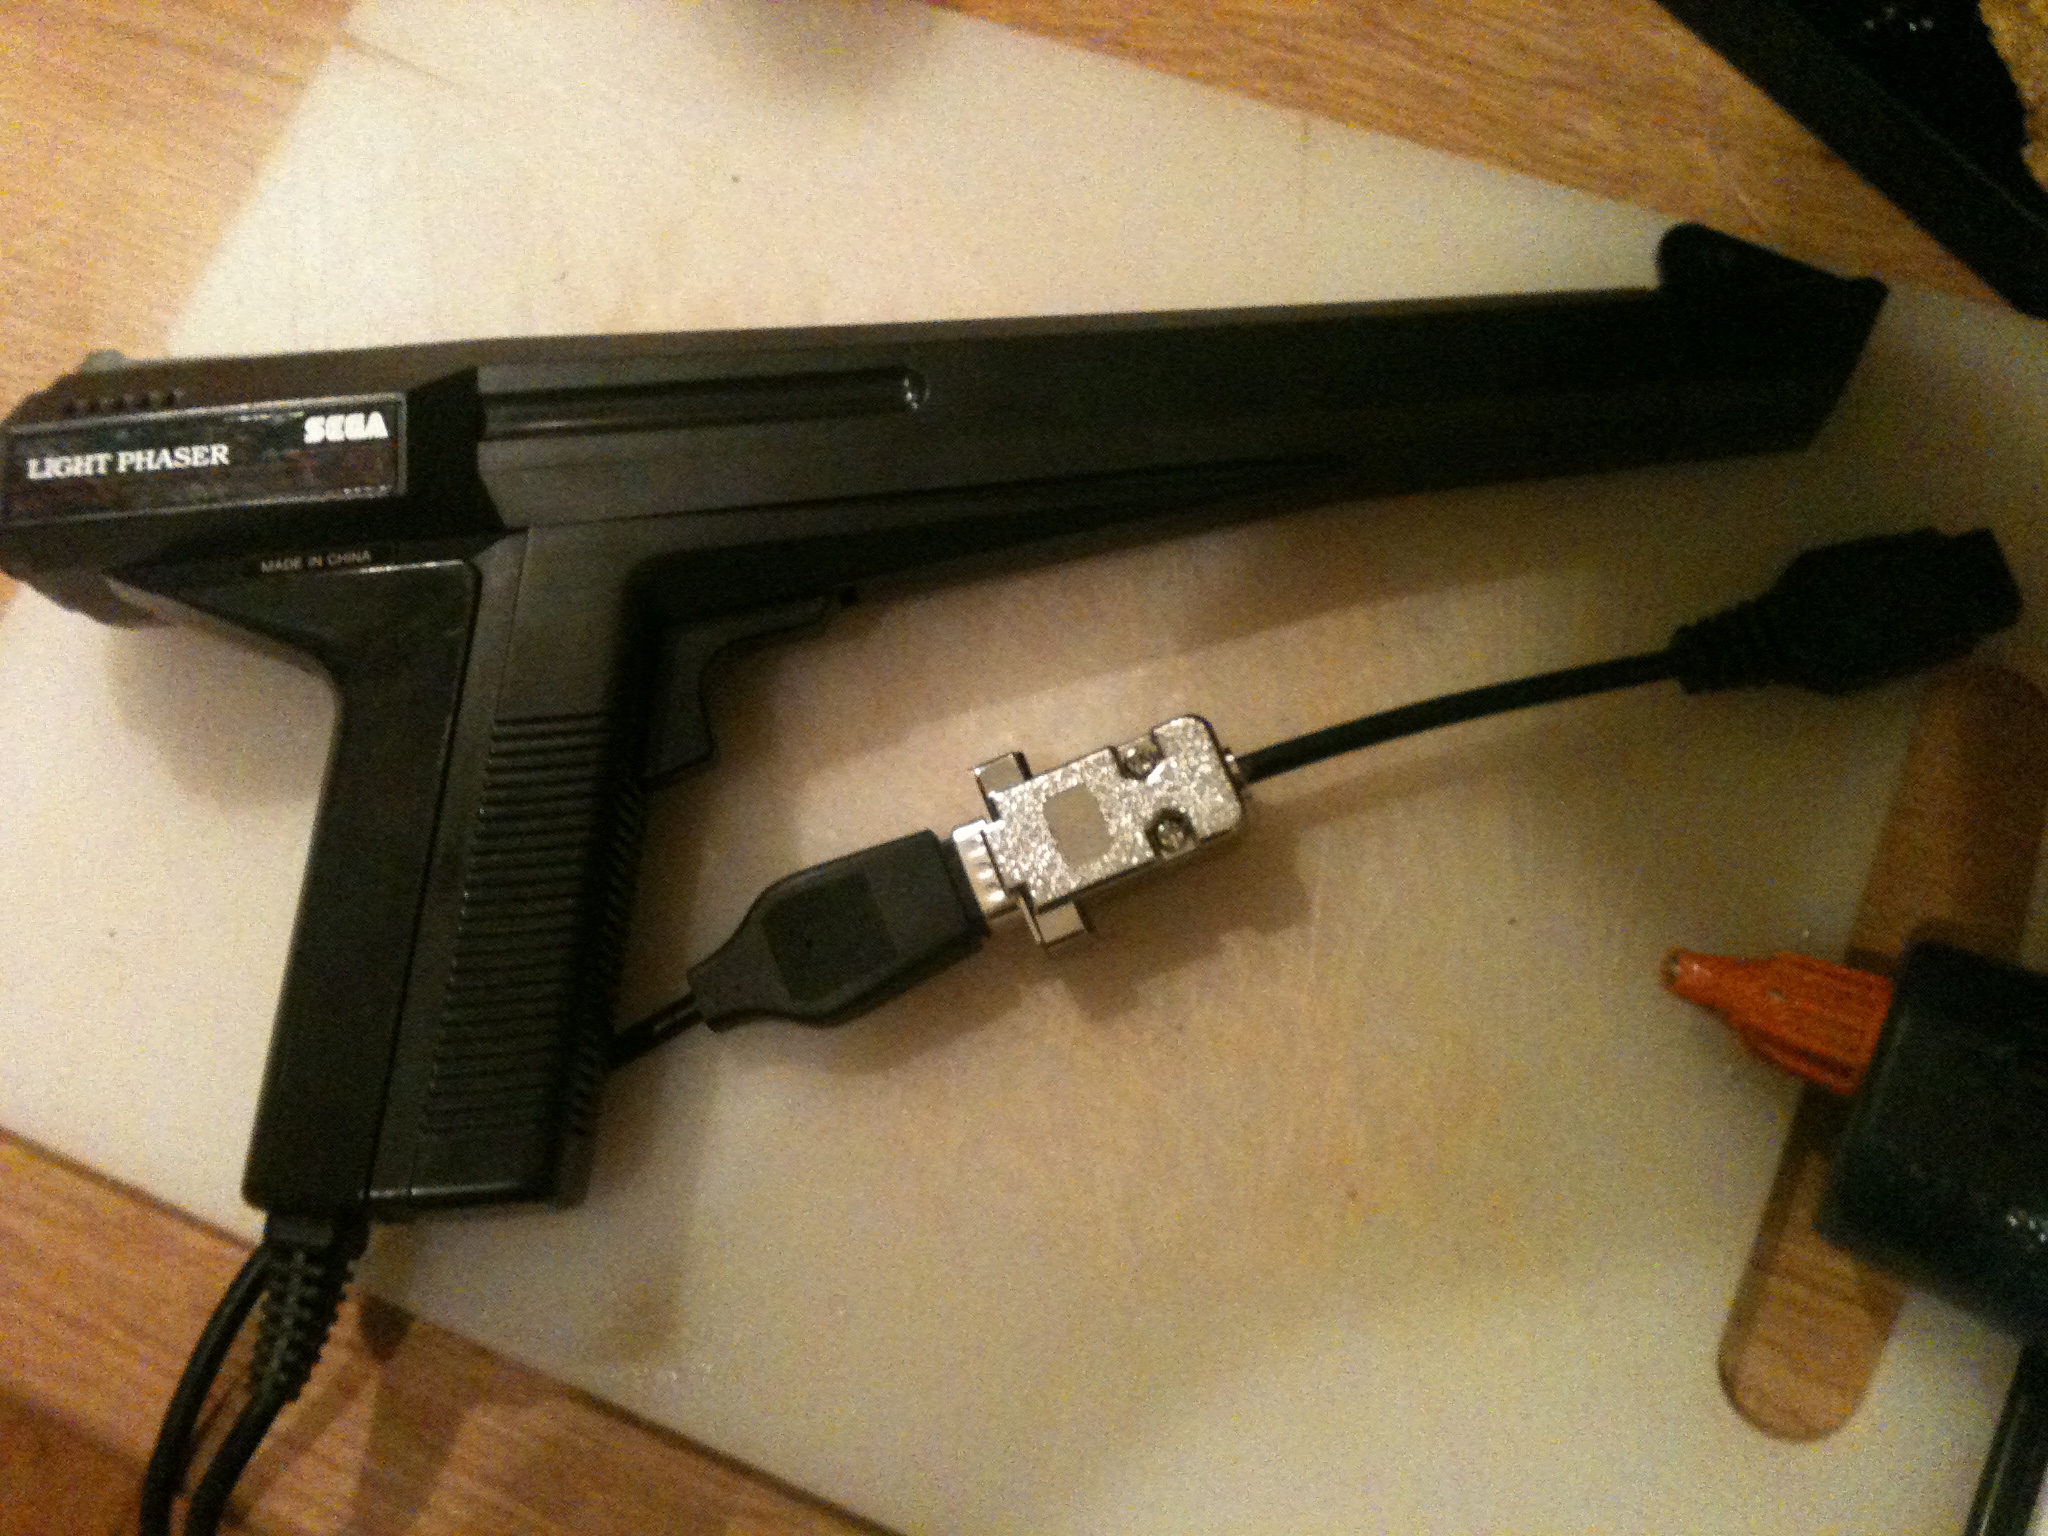
1 x Genesis/Atari cable (with all pins connected)
1x DB9 plug
1x DB9 hood
Soldering iron
Hot Glue gun
Multimeter

The first job is to test continuity on the pins on the joystick connector with a multimeter to identify which coloured wires to use.
SMS Pin 7 (Light sensor) to Vectrex Pin 4 (Button 4)
SMS Pin 6 (Trigger) to Vectrex Pin 3 (Button 3)
SMS Pin 5 (+5v) to Vectrex Pin 7 (+5v)
SMS Pin 8 (GND) to Vectrex Pin 8 (GND)
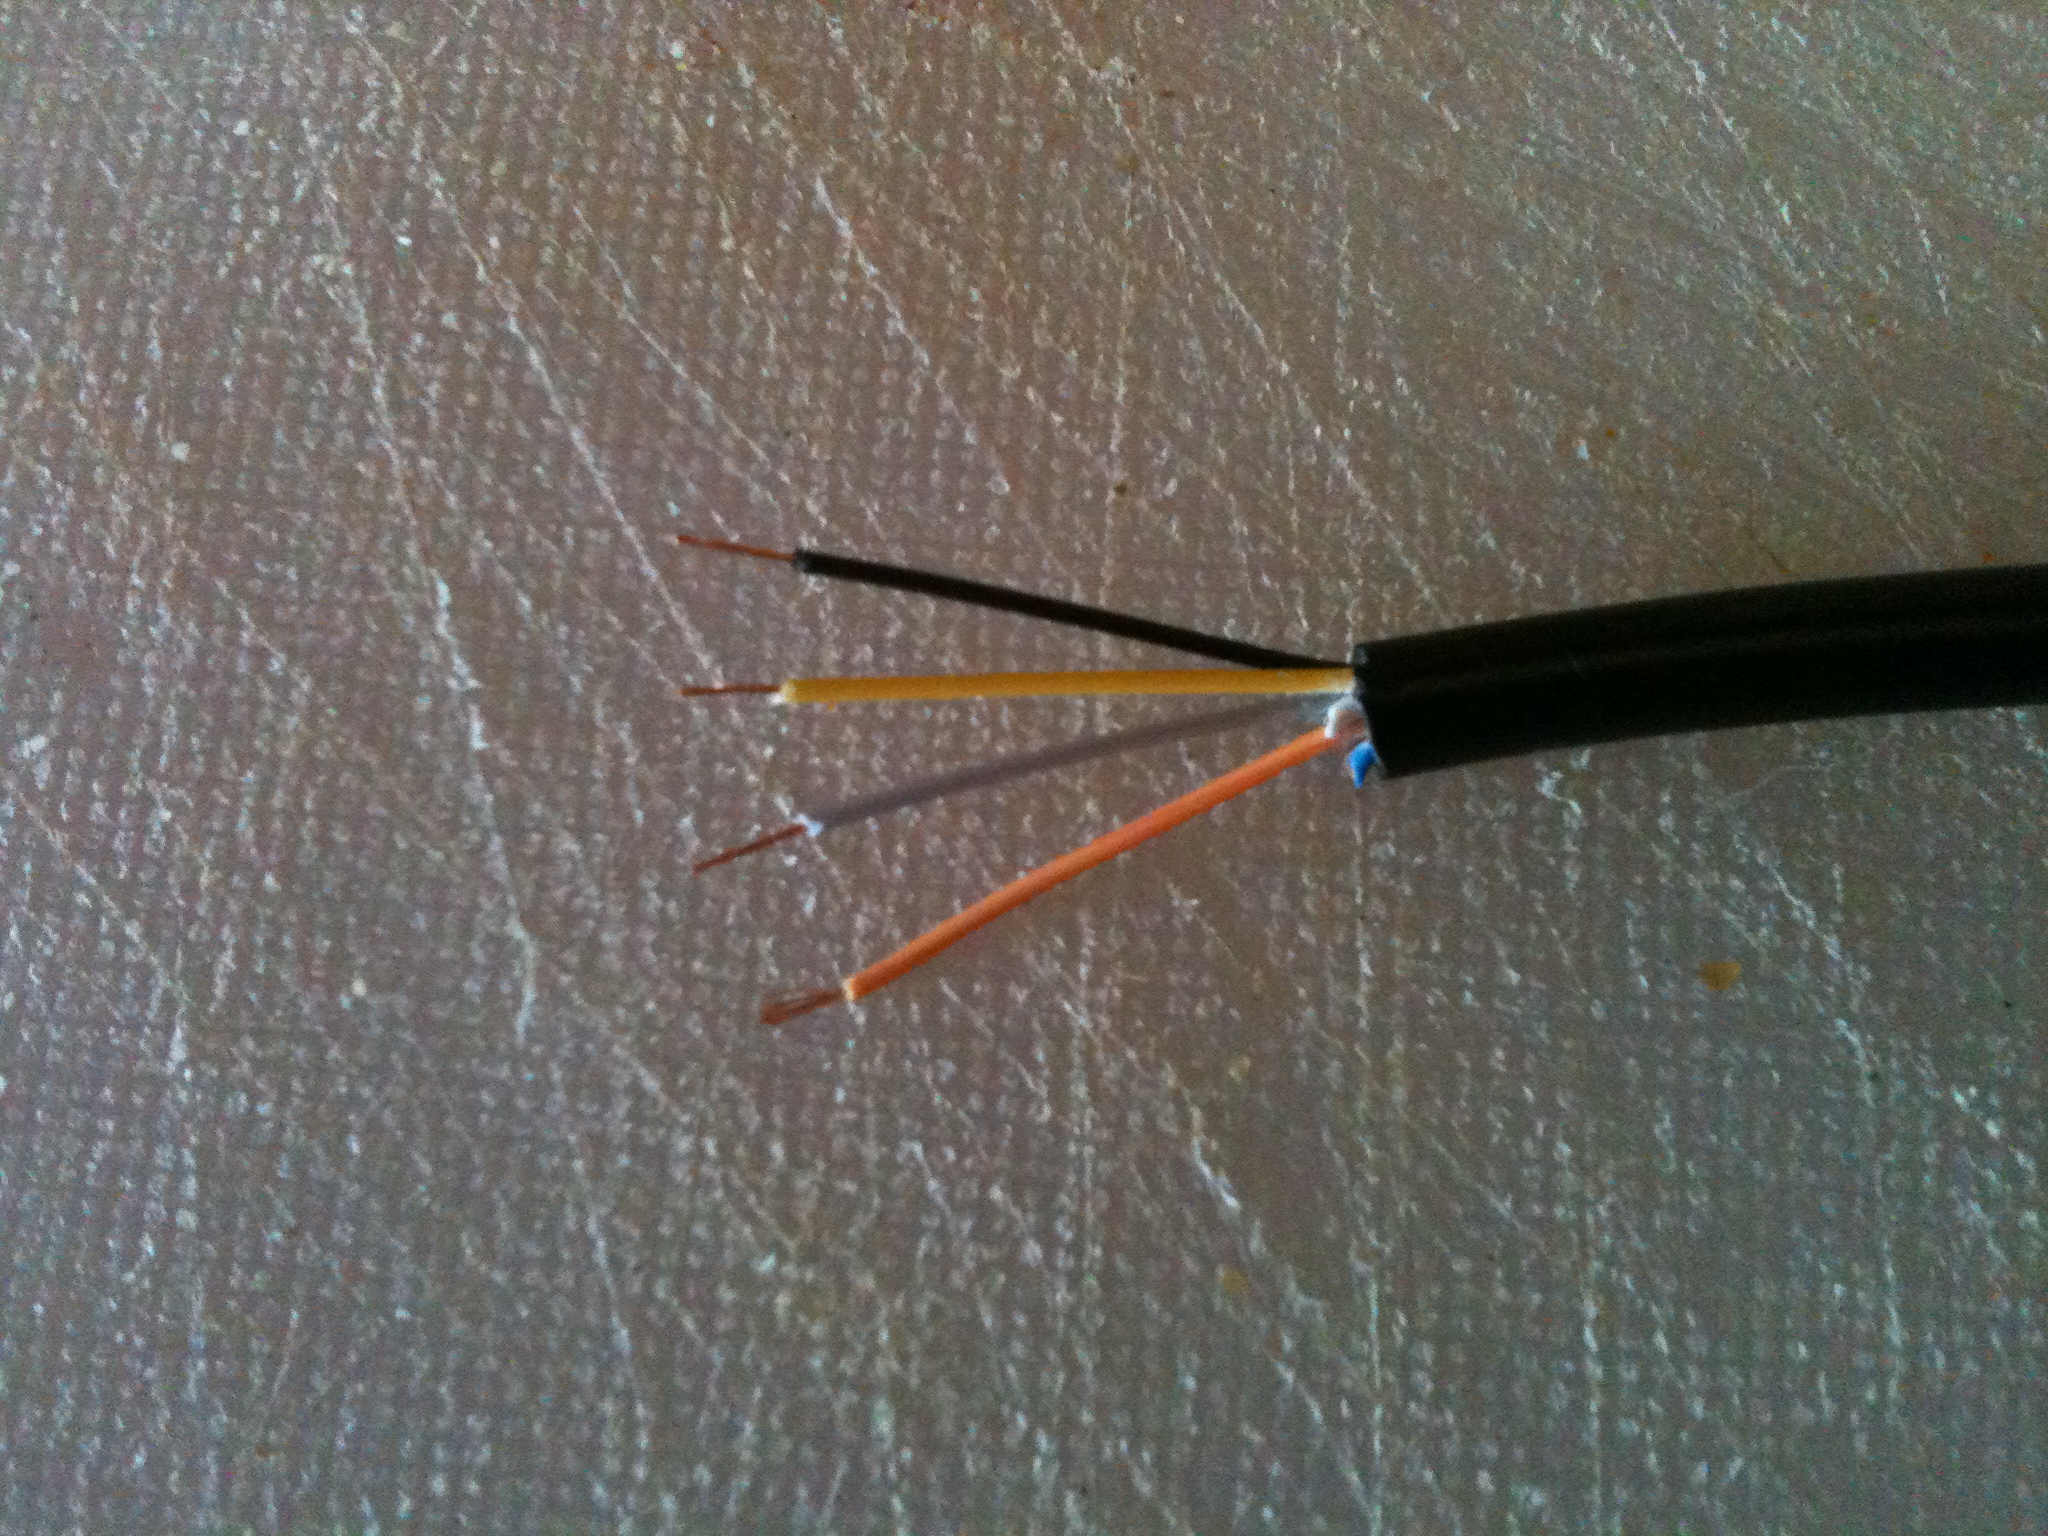
On the cable I used the wires are as follows :
Yellow : Light Sensor
Orange/Peach : Trigger
Grey : +5v
Black : GND
Next we isolate these wires and strip them for soldering to the plug.
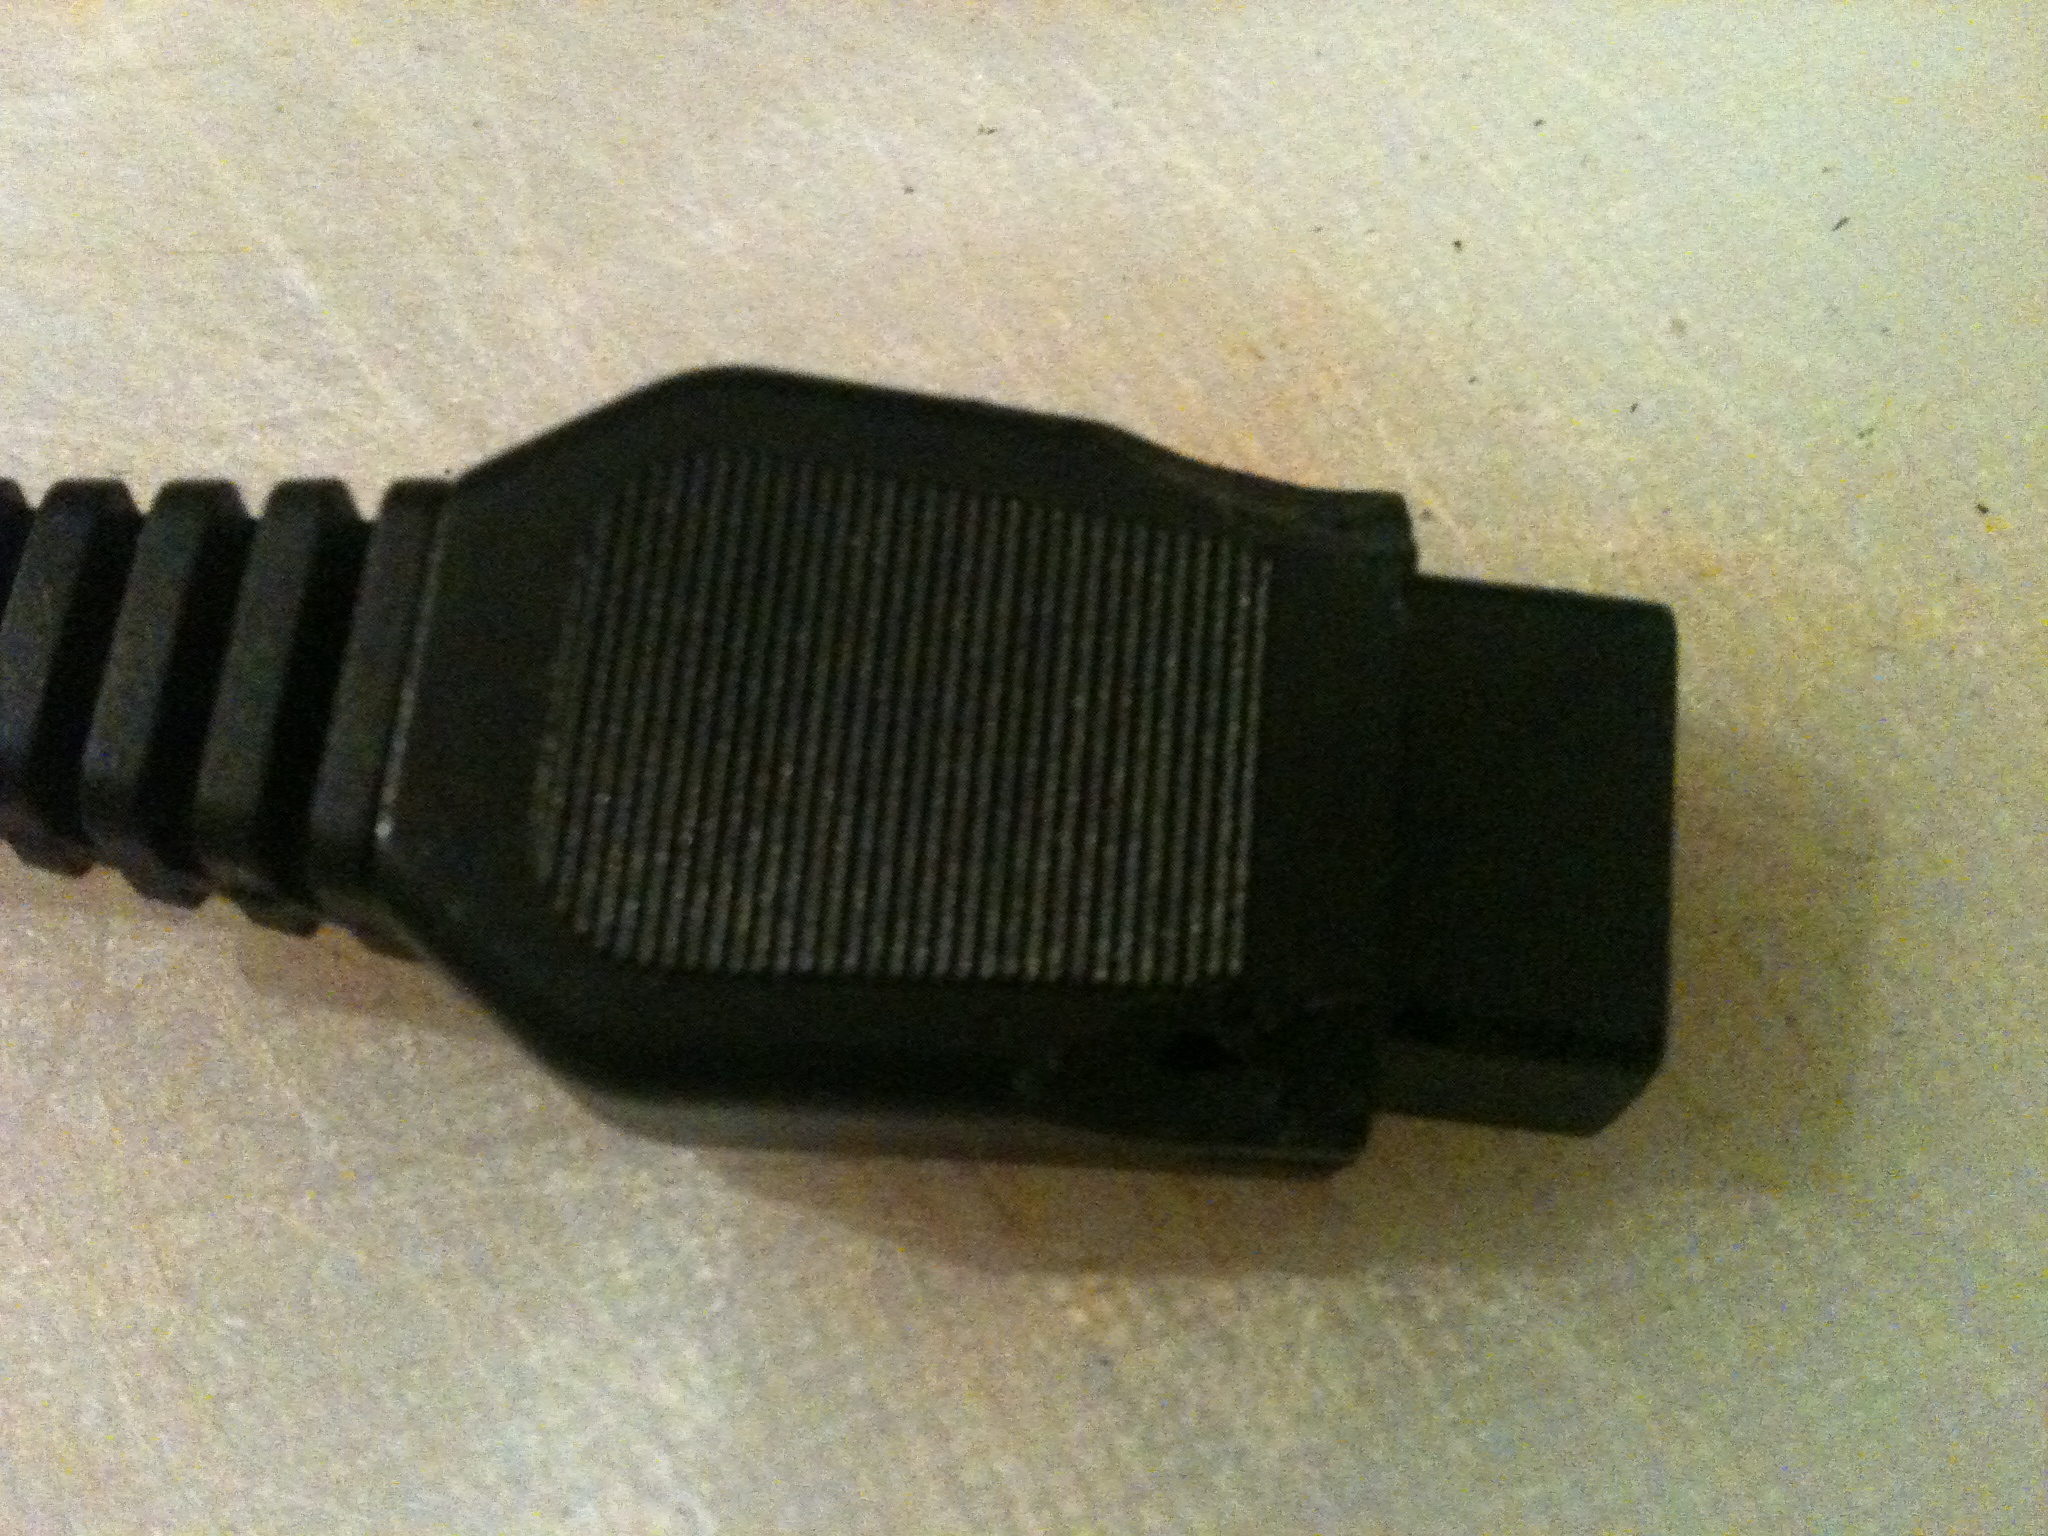
On the plug, we solder to pins 5,6,7 and 8 using the pin mapping listed above.

Once soldering is complete, you should attach the DB9 hood and test the lightgun is working on the Vectrex. You may need to cut away part of the plastic connector with a craft knife to allow the connector to properly insert into the Vectrex. If you are unsure how to cut it, refer to the standard Vectrex connector shape.
If it is not working as expected, check pin-mapping and continuity with a multimeter and correct any mistakes made.
If working successfully with Vectrex, remove the top of the DB9 hood, add hot glue to hold the connections and attach the hood again.
Leave the glue to solidify for a few hours and then enjoy your new lightgun adapter!
Some of the forthcoming lightgun (and lightpen) compatible games are previewed in VectrexRoli’s video below :