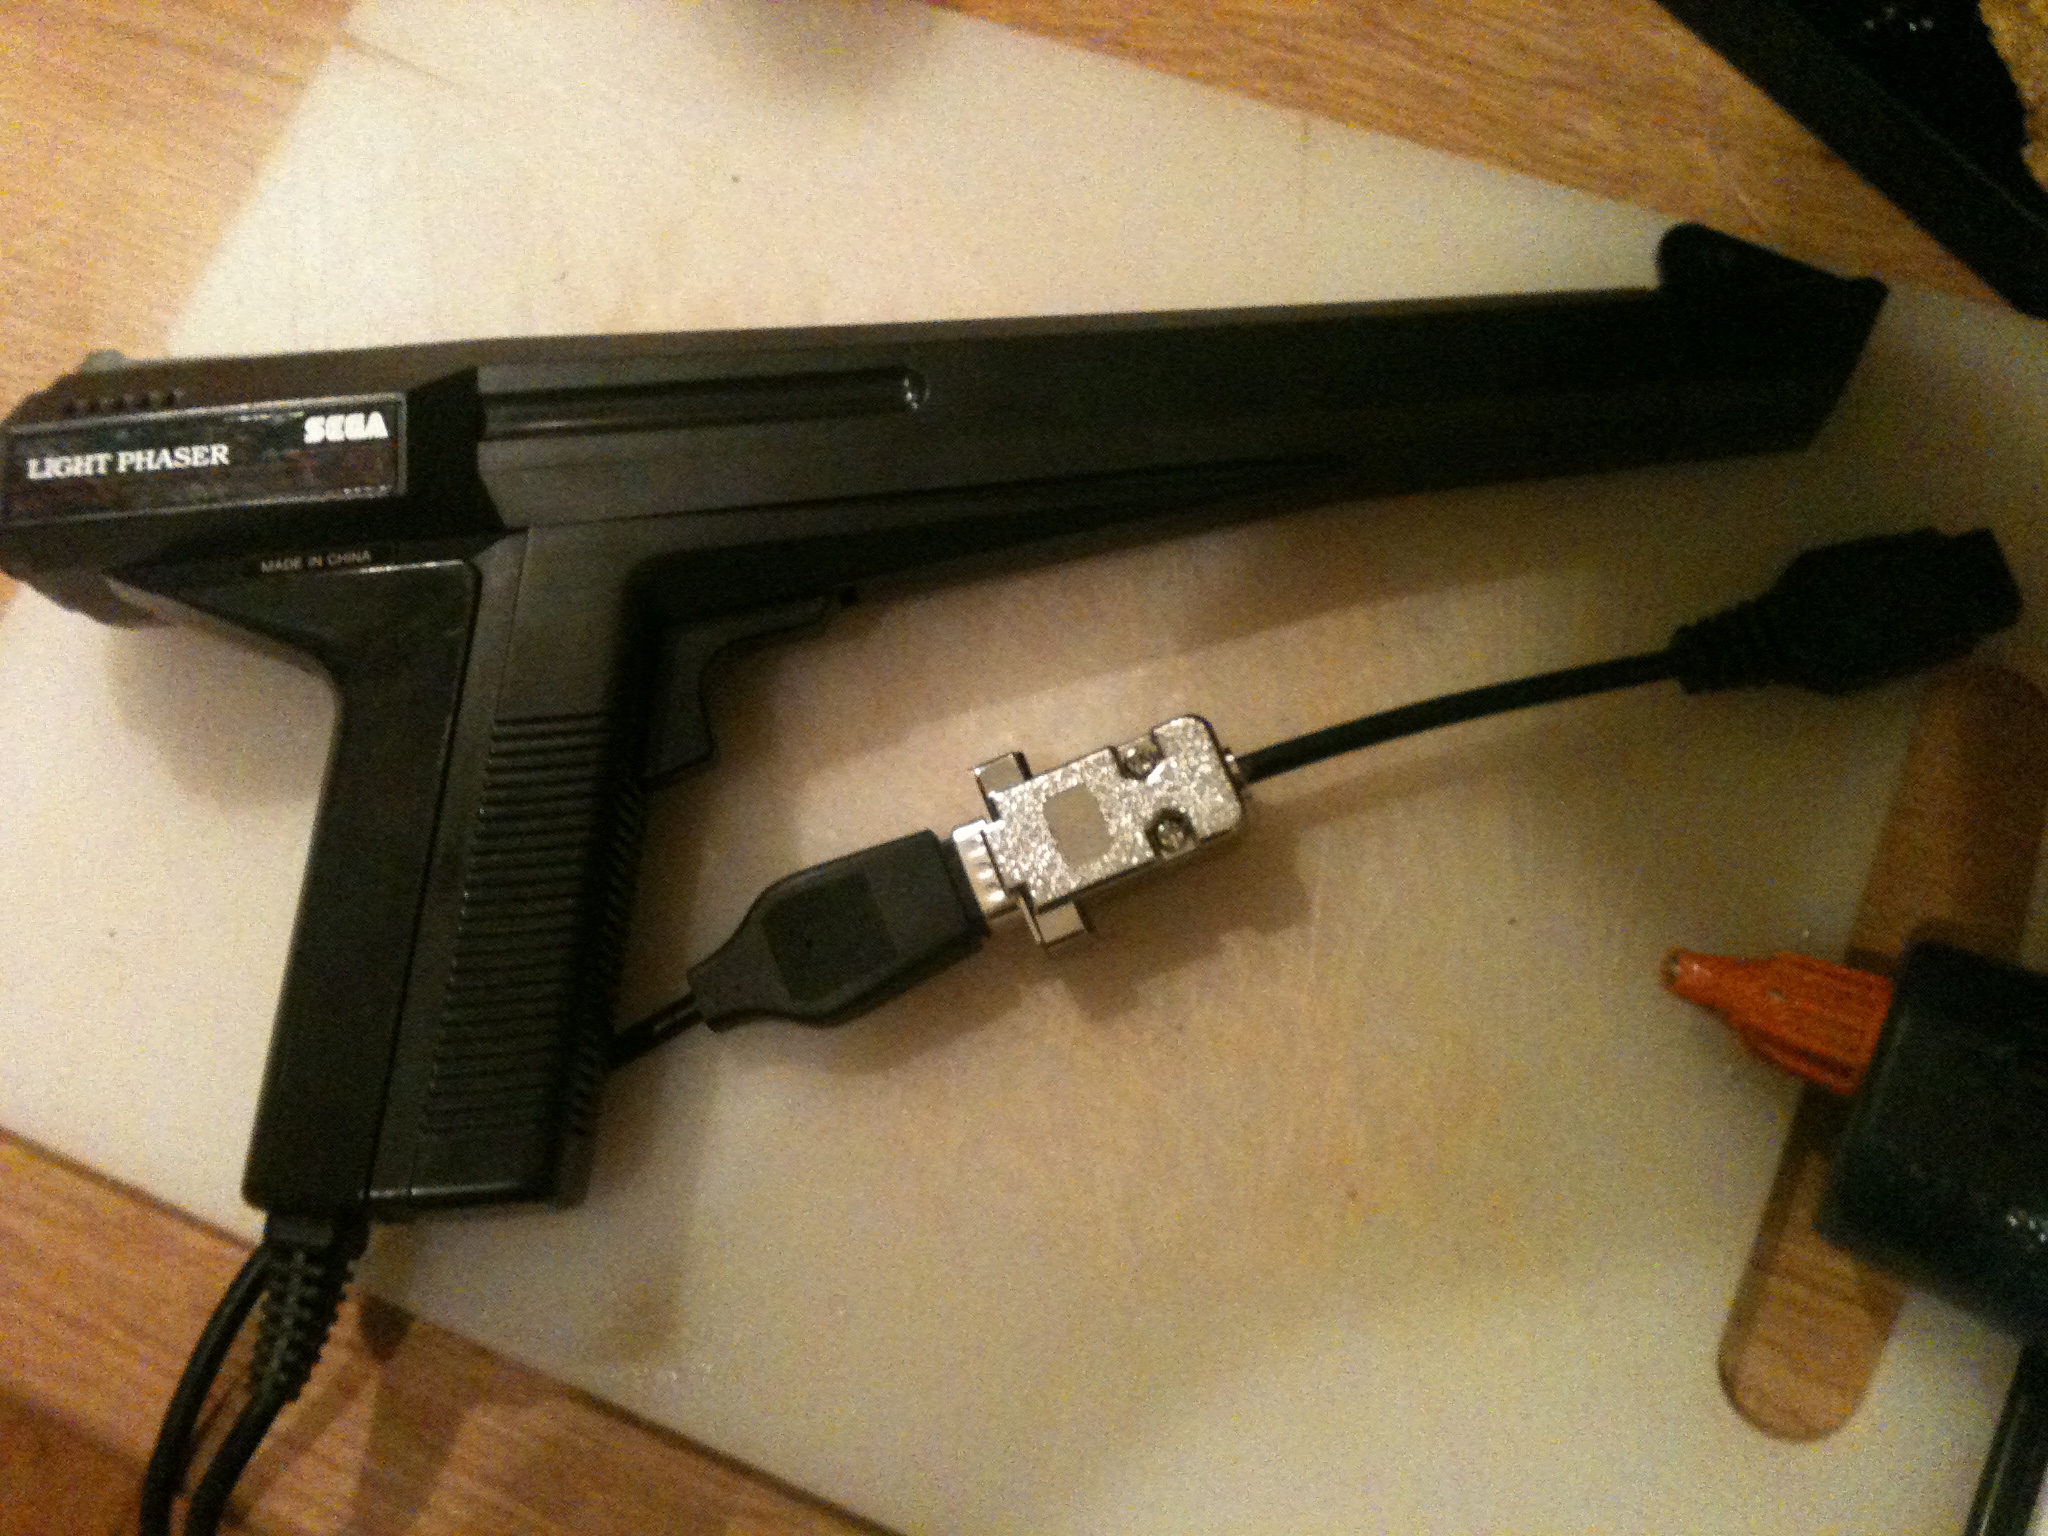
Instructions for making your own Sega Light Phaser to Vectrex Lightgun adapter. I’ll be making some of these available with the first lightgun compatible cartridge I produce. Stay tuned for more info 😉
Parts needed :
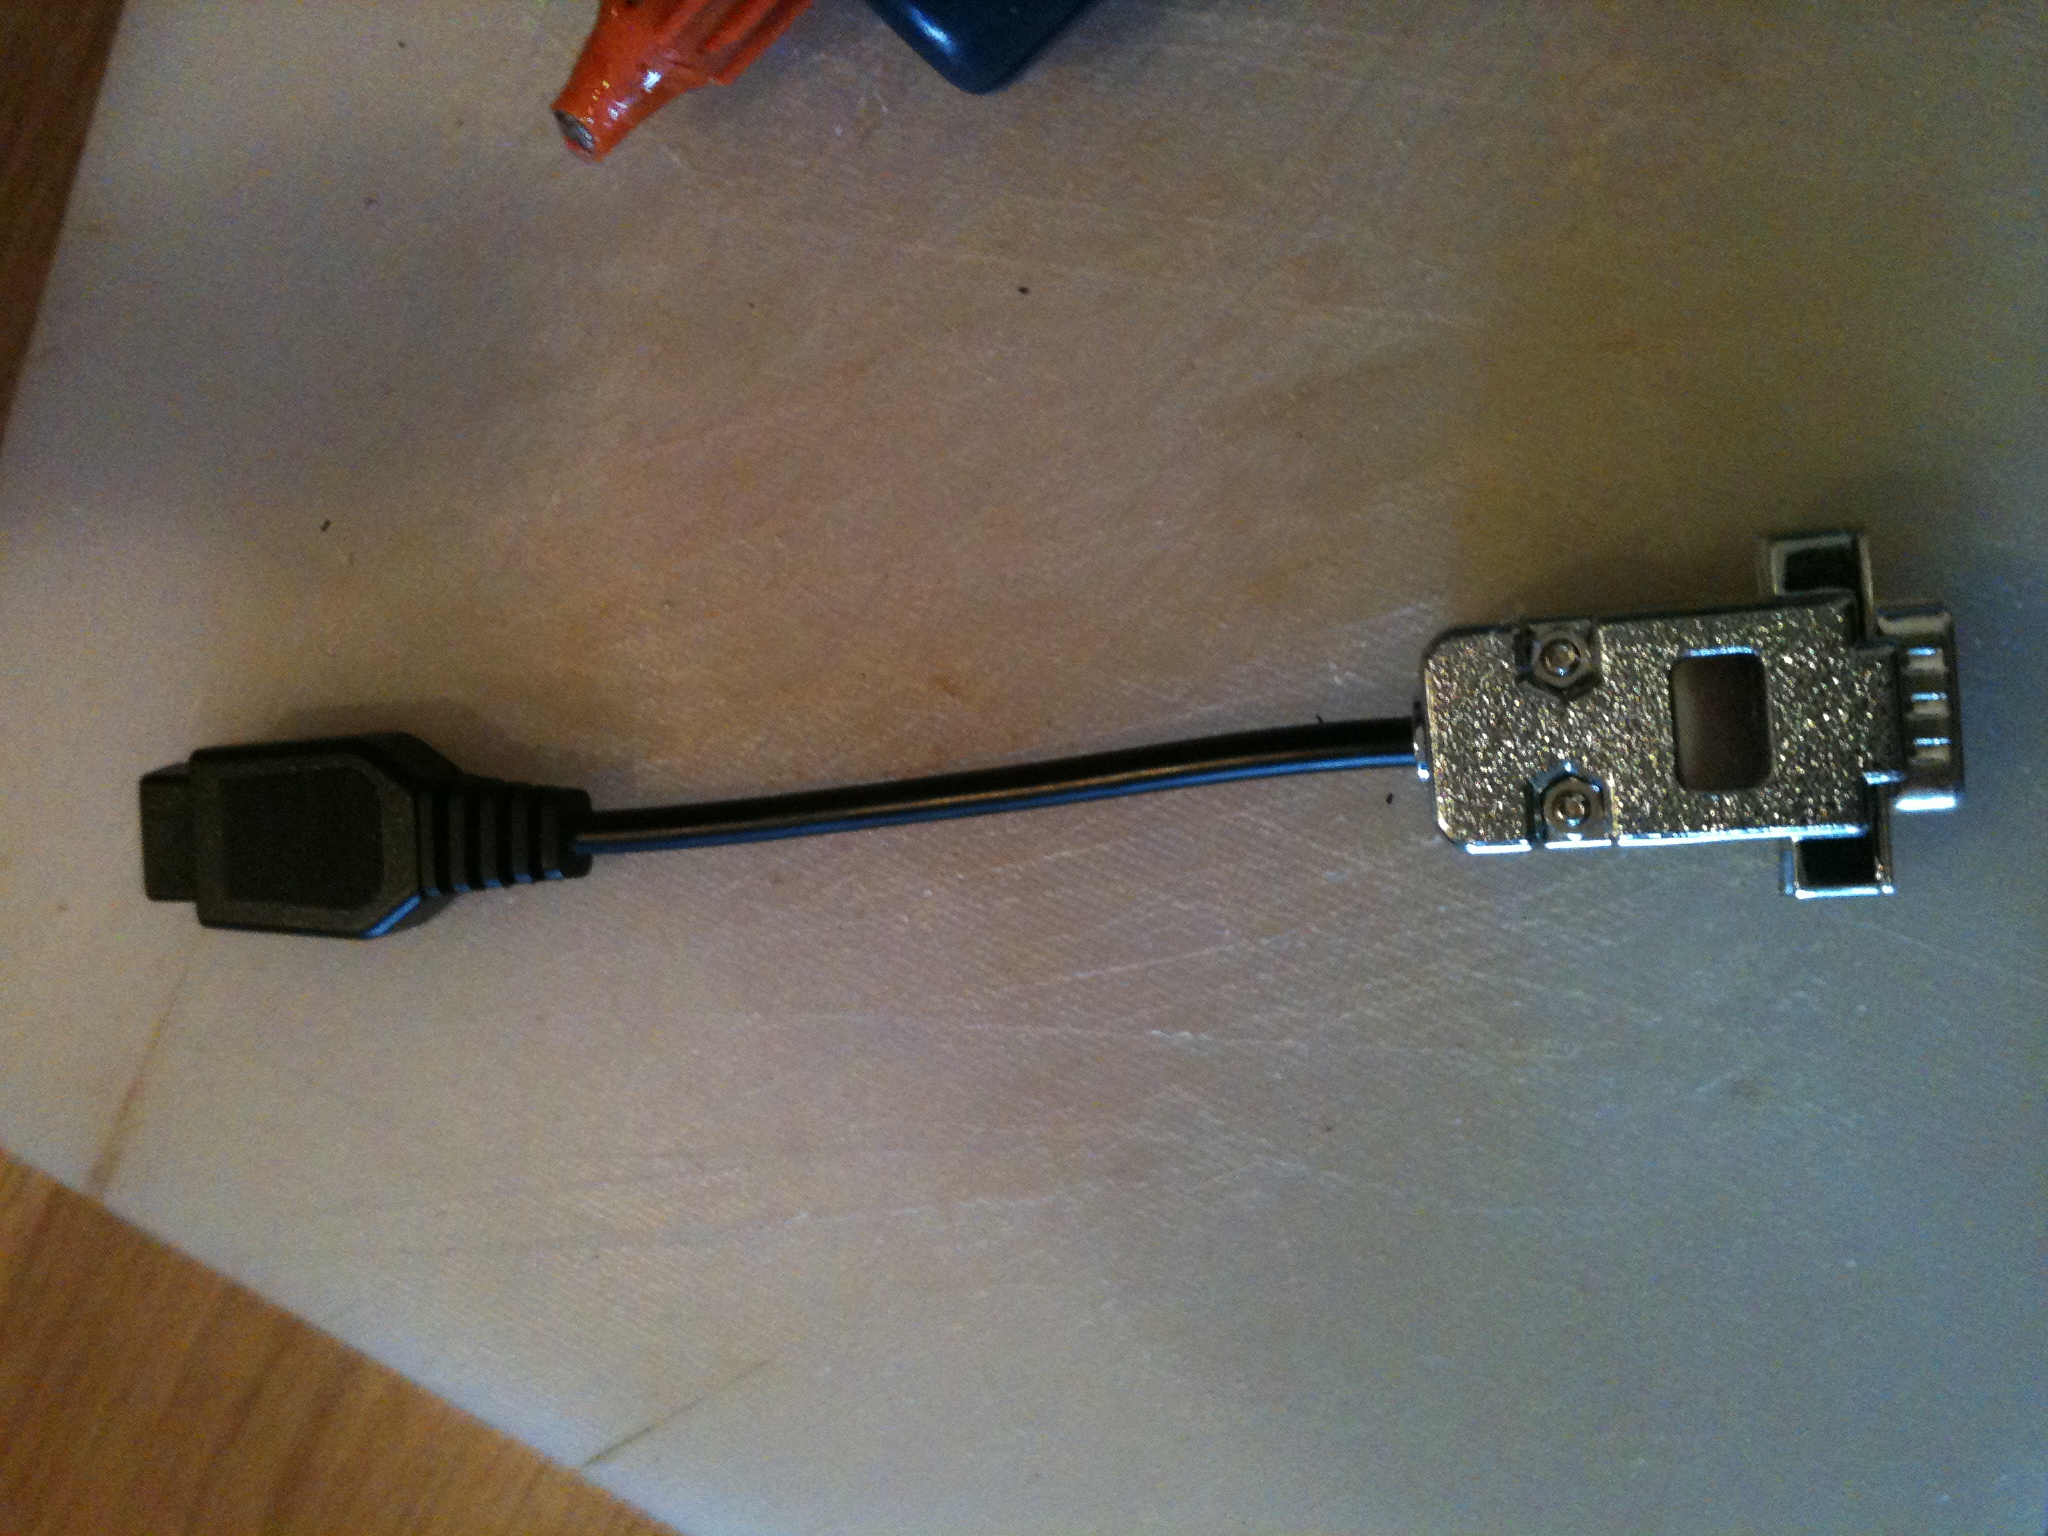
1 x Genesis/Atari cable (with all pins connected)
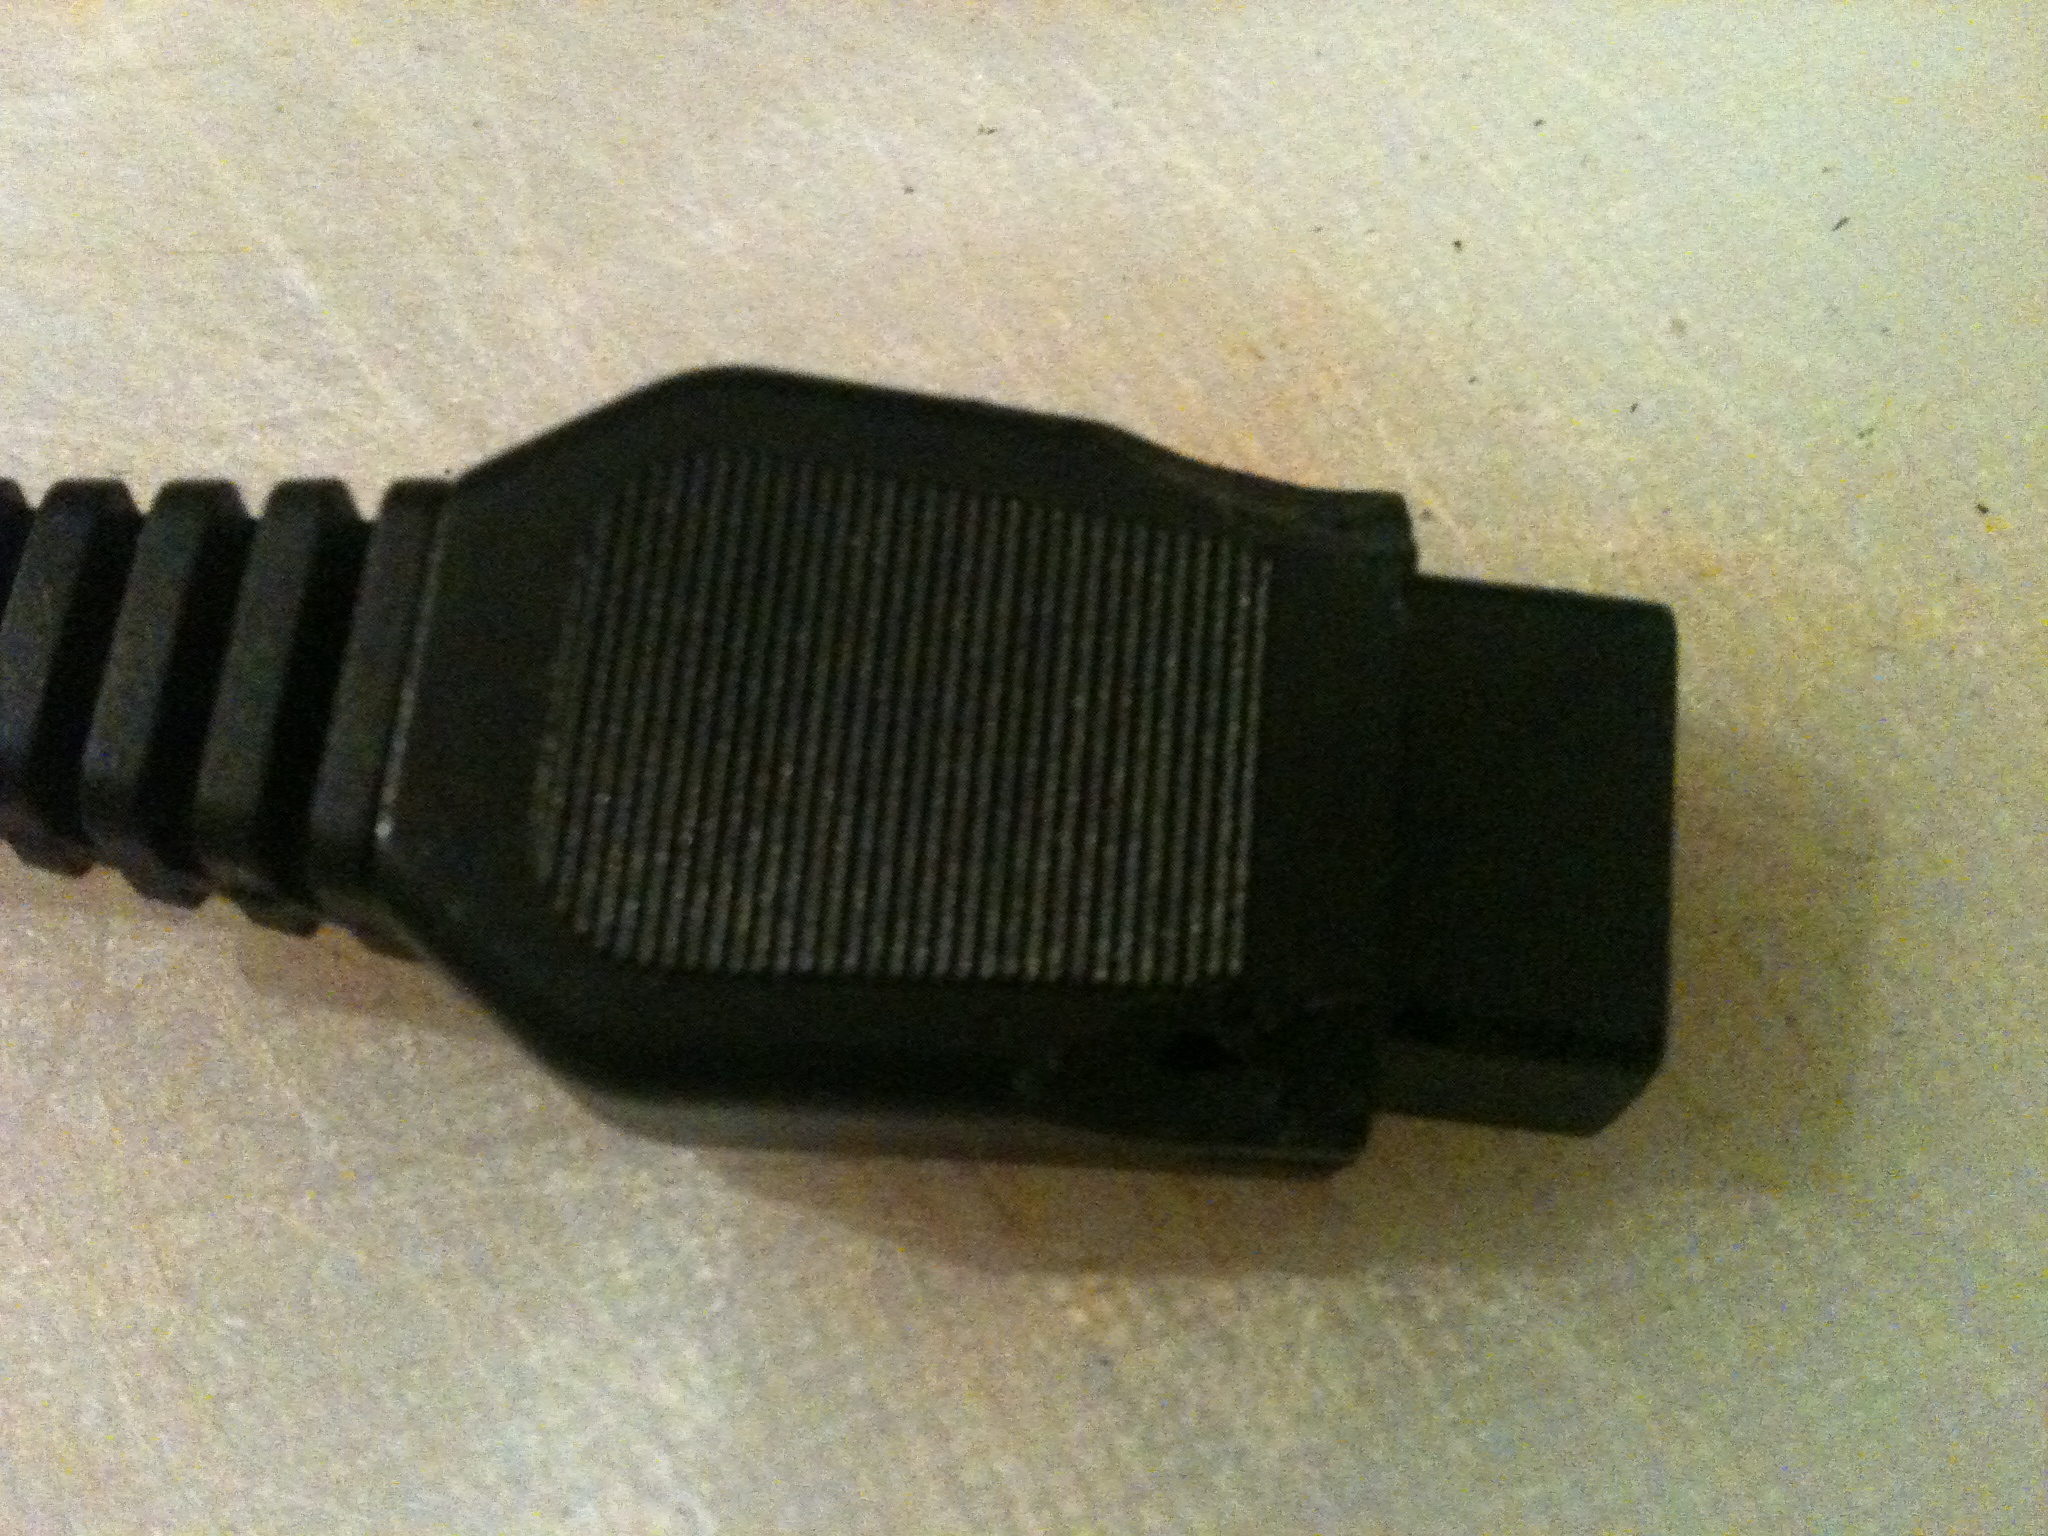
1x DB9 plug
1x DB9 hood
Tools Used :
Soldering iron
Hot Glue gun
Multimeter
The first job is to test continuity on the pins on the joystick connector with a multimeter to identify which coloured wires to use.
SMS Pin 7 (Light sensor) to Vectrex Pin 4 (Button 4)
SMS Pin 6 (Trigger) to Vectrex Pin 3 (Button 3)
SMS Pin 5 (+5v) to Vectrex Pin 7 (+5v)
SMS Pin 8 (GND) to Vectrex Pin 8 (GND)
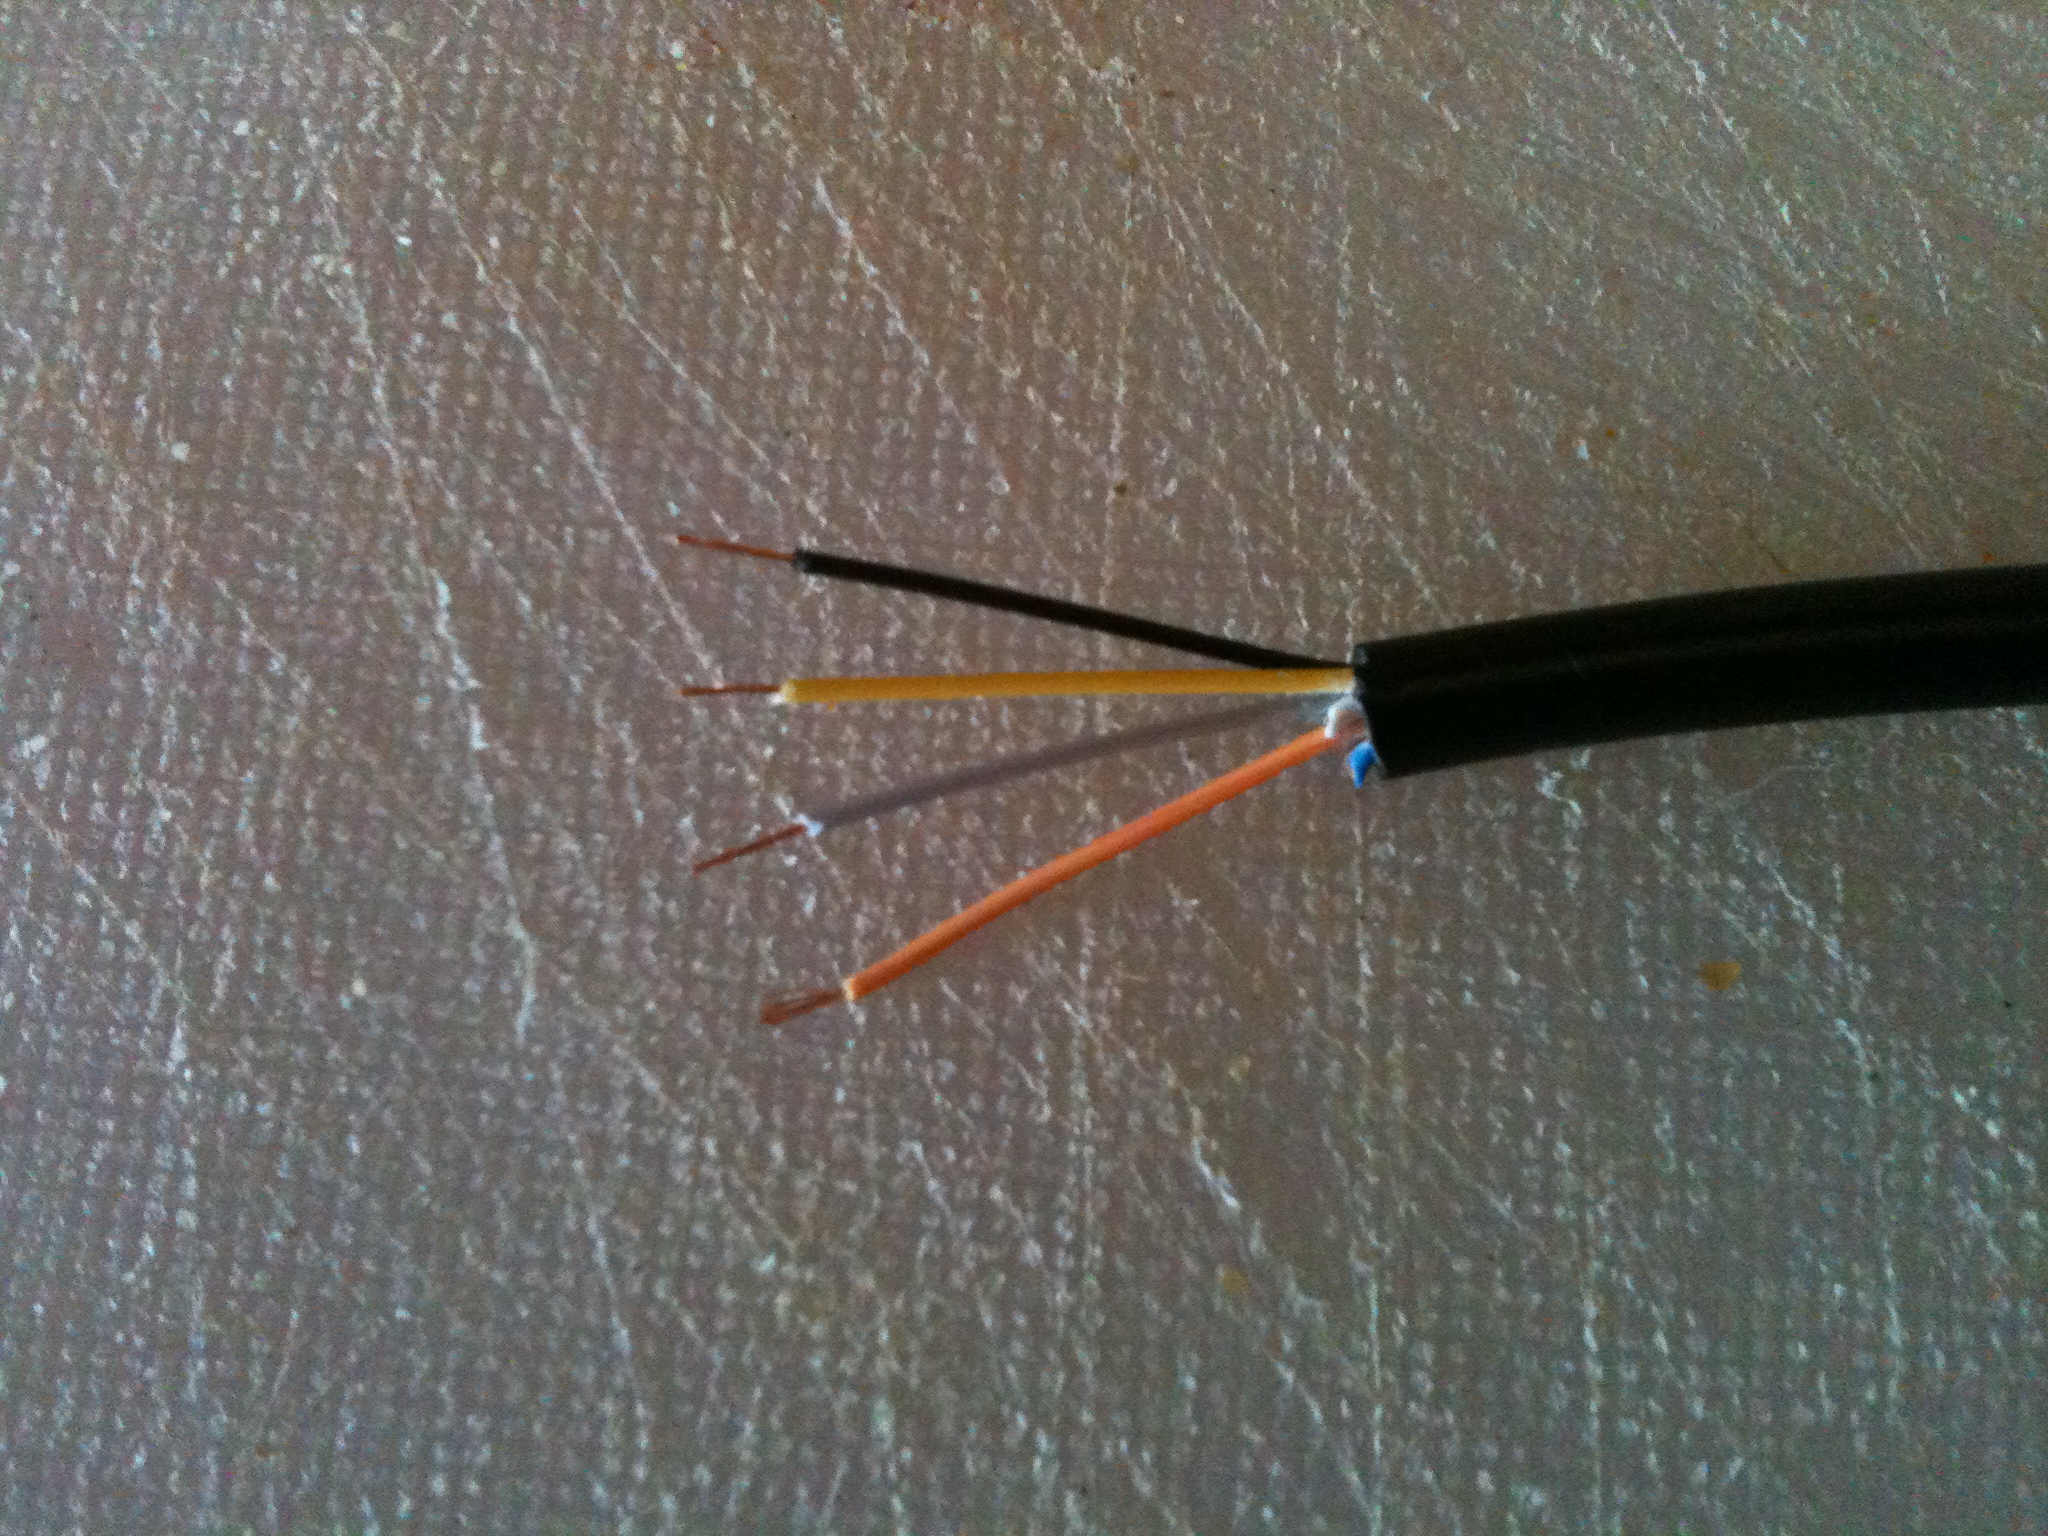
On the cable I used the wires are as follows :
Yellow : Light Sensor
Orange/Peach : Trigger
Grey : +5v
Black : GND
Next we isolate these wires and strip them for soldering to the plug.
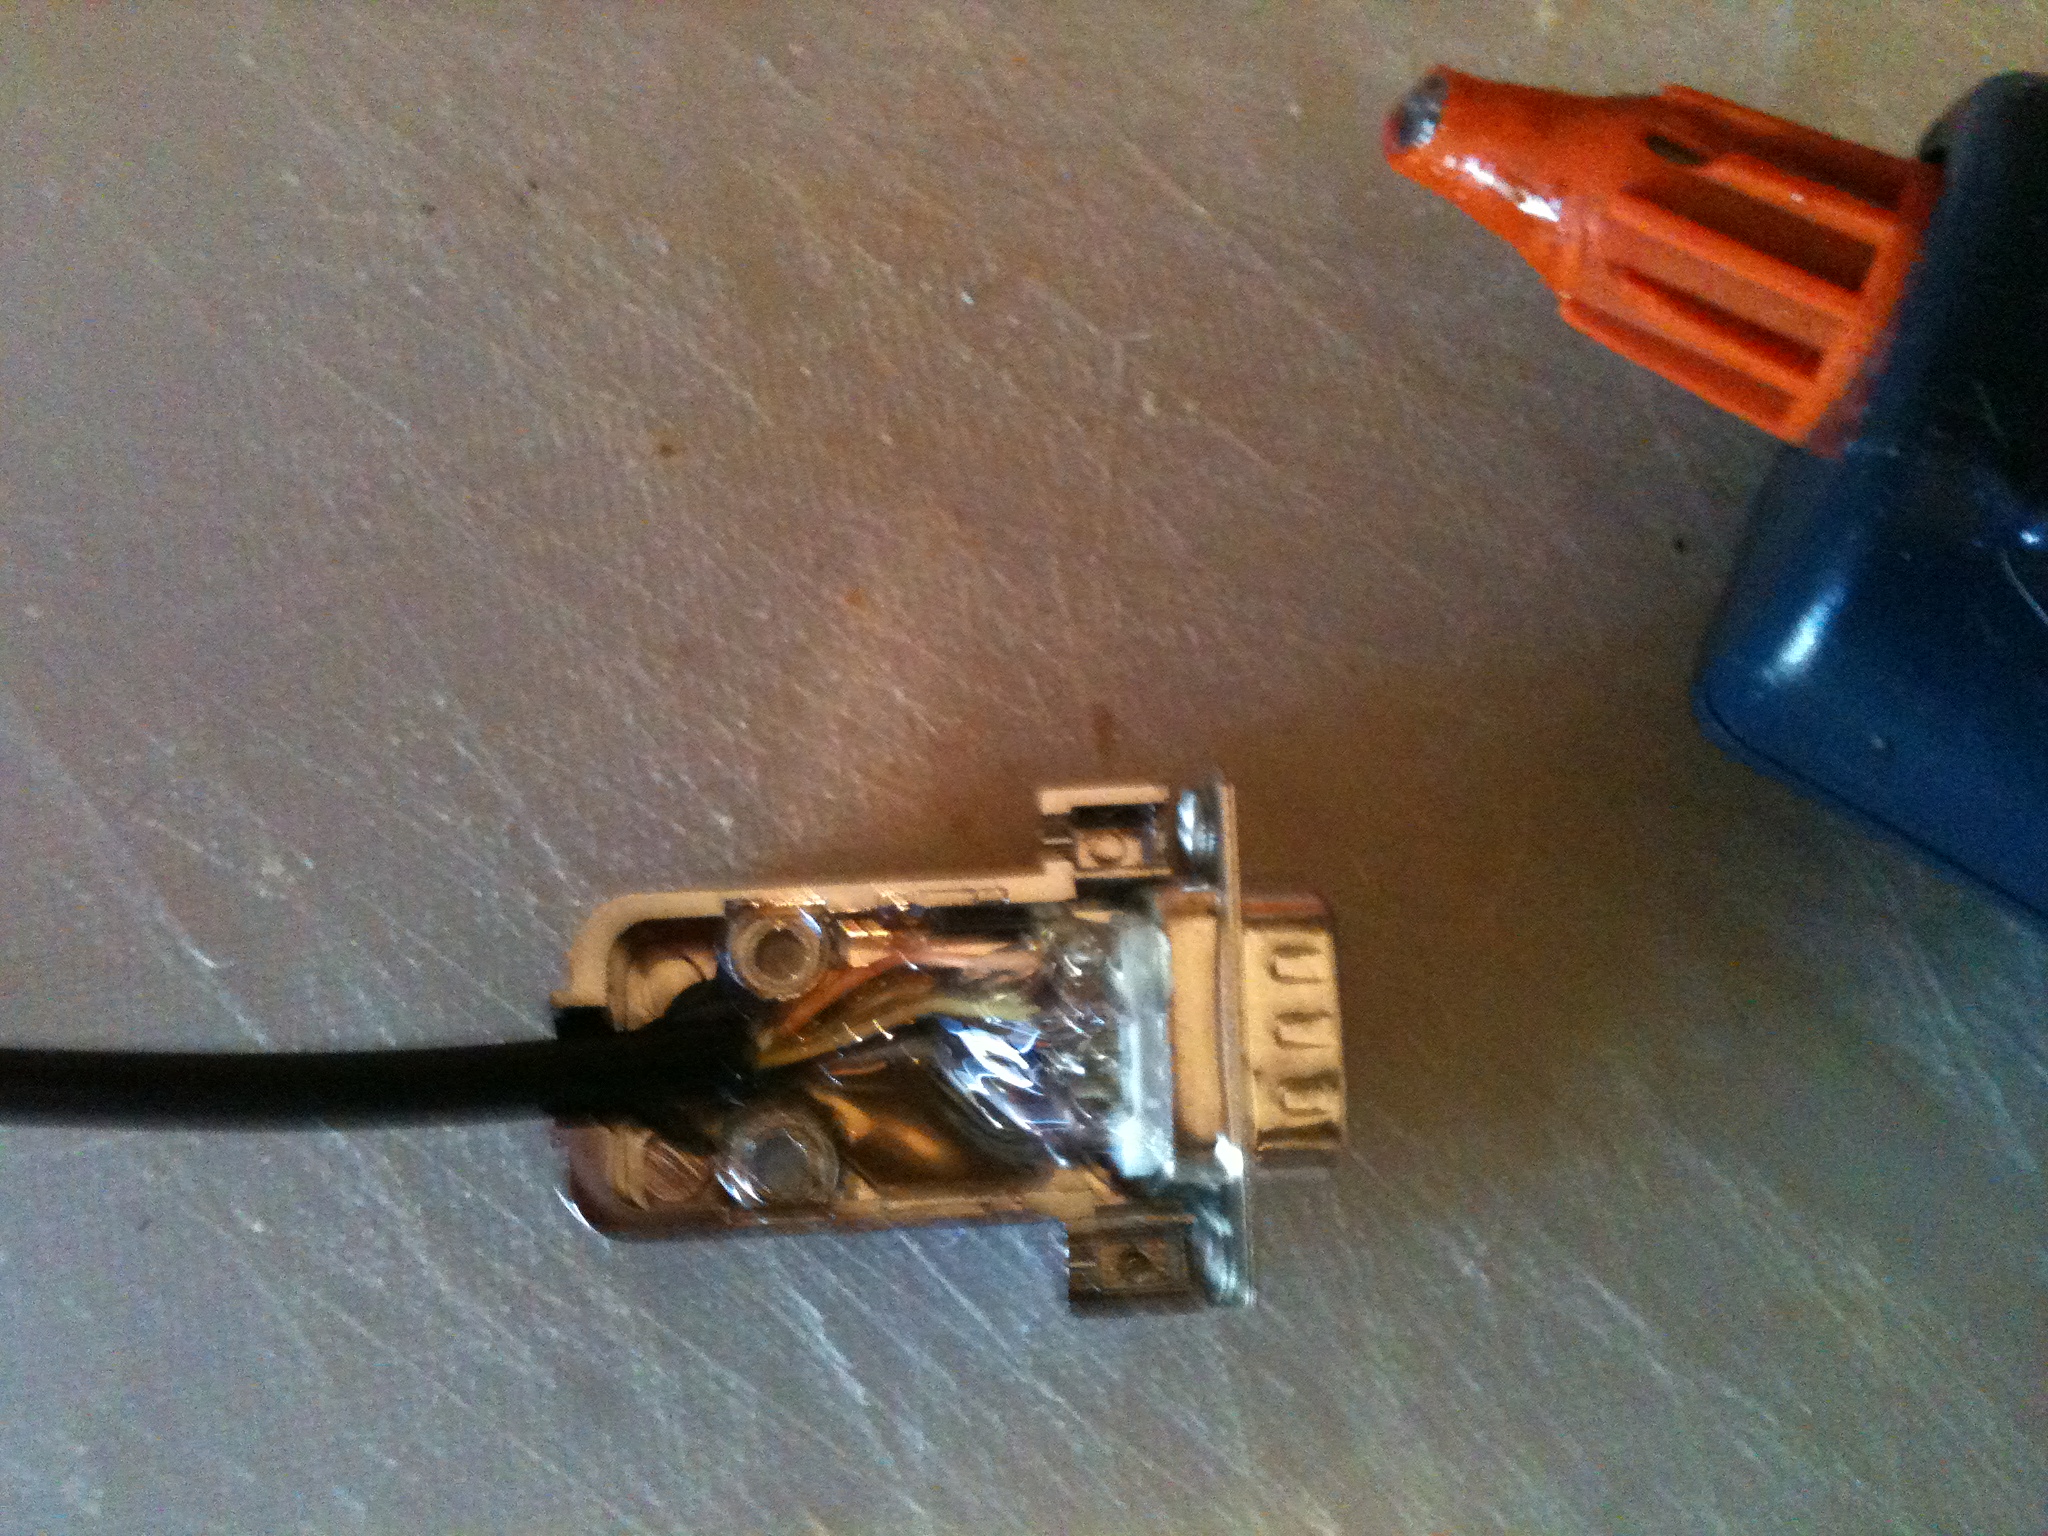
On the plug, we solder to pins 5,6,7 and 8 using the pin mapping listed above.
Once soldering is complete, you should attach the DB9 hood and test the lightgun is working on the Vectrex. You may need to cut away part of the plastic connector with a craft knife to allow the connector to properly insert into the Vectrex. If you are unsure how to cut it, refer to the standard Vectrex connector shape.
If it is not working as expected, check pin-mapping and continuity with a multimeter and correct any mistakes made.
If working successfully with Vectrex, remove the top of the DB9 hood, add hot glue to hold the connections and attach the hood again.
Leave the glue to solidify for a few hours and then enjoy your new lightgun adapter!
Some of the forthcoming lightgun (and lightpen) compatible games are previewed in VectrexRoli’s video below :